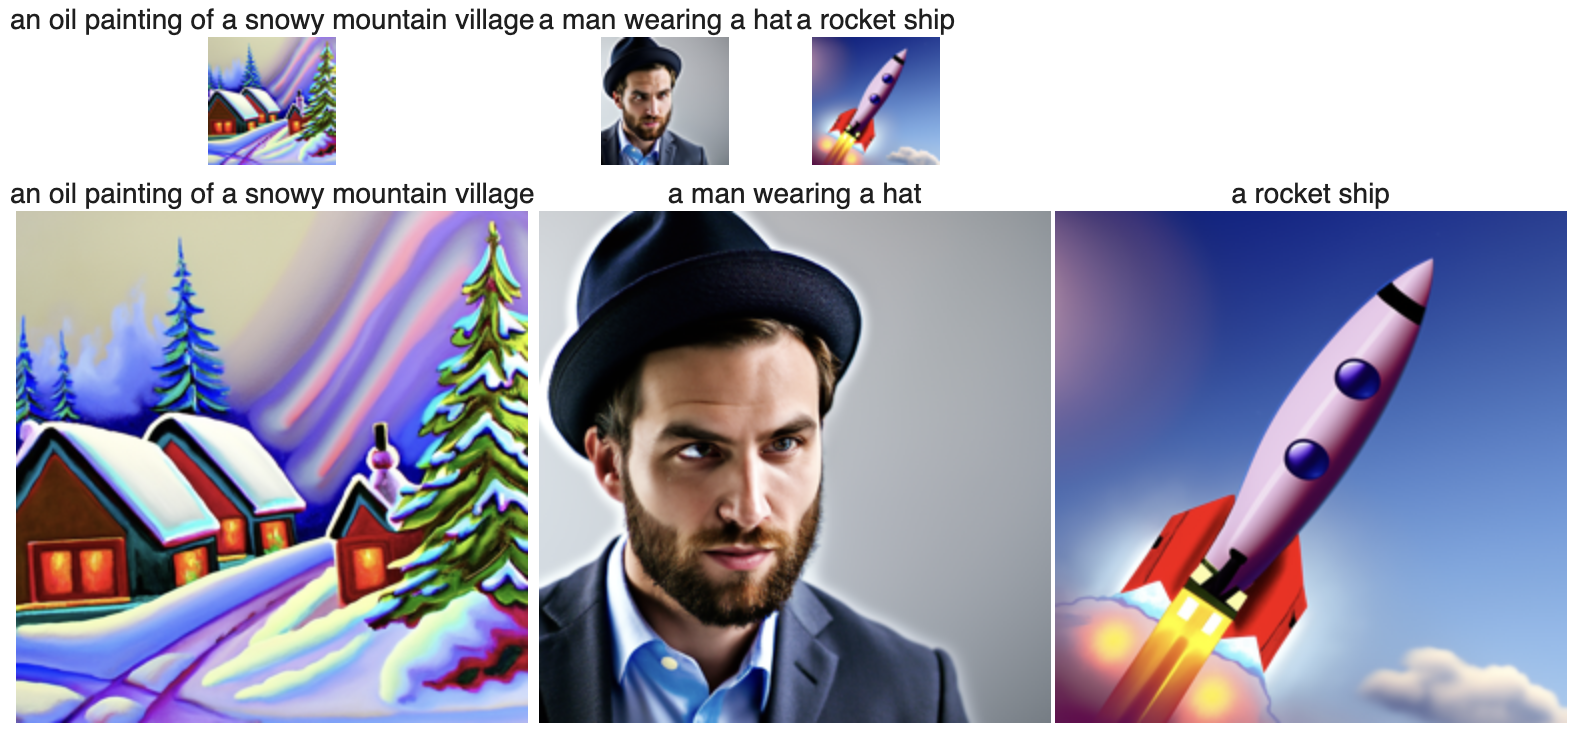
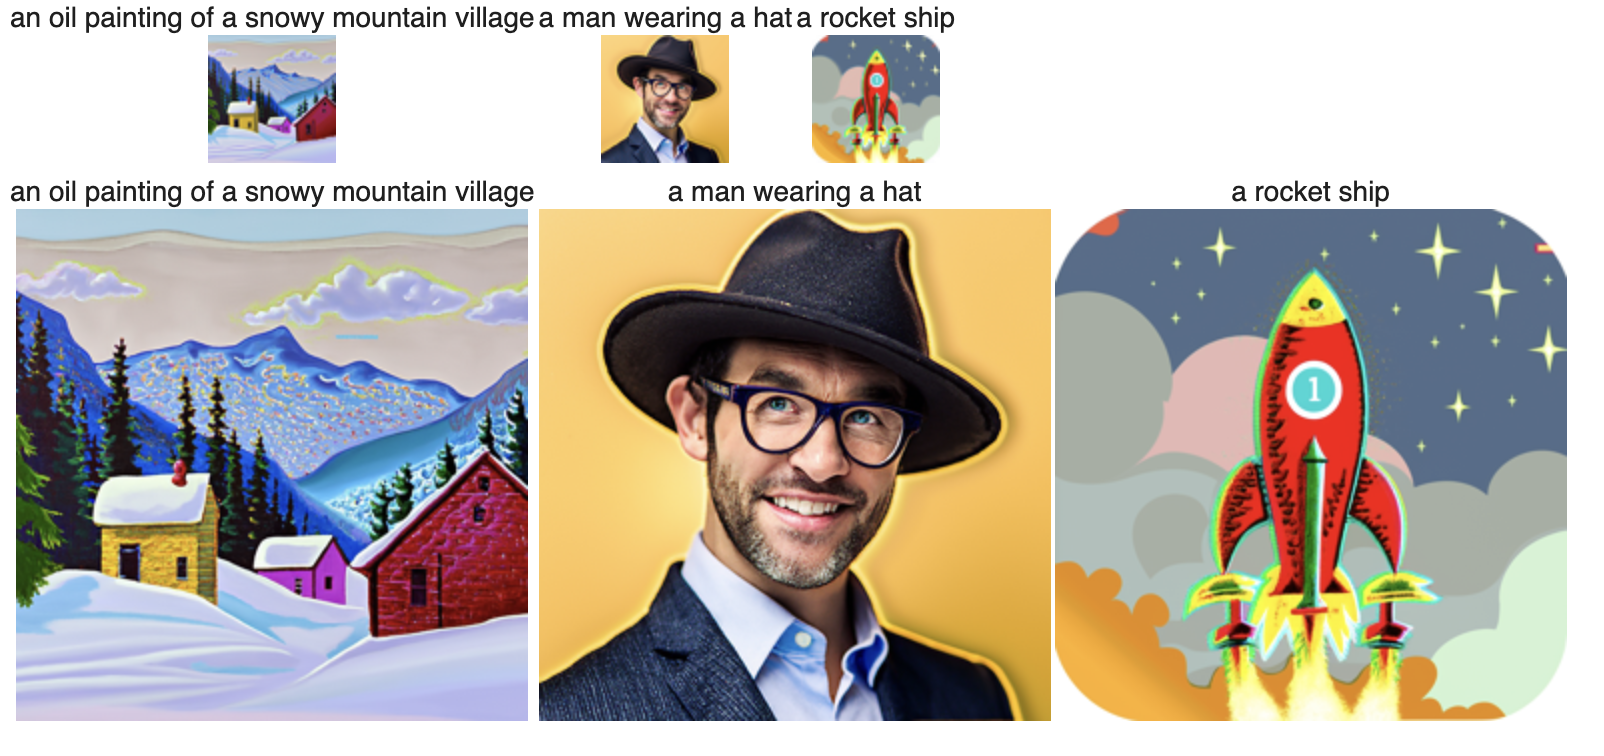
For this part, I ran the model on the three prompts twice, with a different number of inference steps each time (20 and then 50). Outputs are displayed below, for the images as well as the upsampled images. The second set of images has slightly higher resolution than the first. All images are pretty accurate with respect to the prompt. The second oil painting seems more like an oil painting to me than the first, however. Also, I chose a seed of 180.


Here, I implemented the forward function which takes in an image im and a timestep t as input to generate a noisy image. Here are the outputs of the test image (Campanile) with timesteps of 250, 500, and 750.
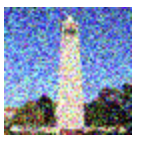
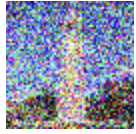
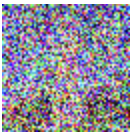
Here, I simply used Gaussian blur filtering to try and remove the noise. I have displayed the outputs for filtering the three noised images from the previous section below. I used parameters of 7, 13, and 17 respectively for the blurring.
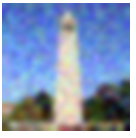
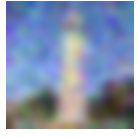
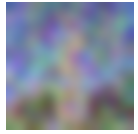
Here, I implemented one step denoising and have displayed the outputs of this on the three noised images (250, 500, 750) below. Each set of three is the original image, noised, and denoised version side-by-side.
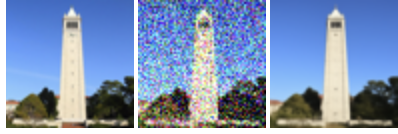
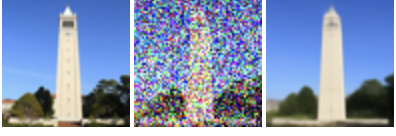
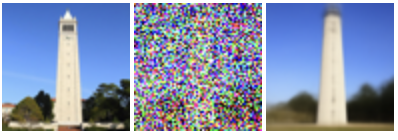
I implemented iterative denoising here and have displayed below the results of every fifth loop of denoising, as well as the final results (final denoised image, one-step denoised, and noised image).
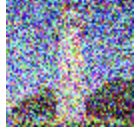
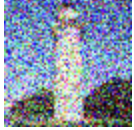
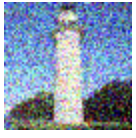
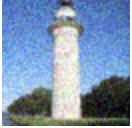
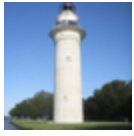
Here, I generated 5 high-quality images from scratch by using i_start = 0 and passing in random noise.

Here, I implemented a function for iterative denoising but with CFG. I have attached 5 images of high-quality photos here.

I created edits of the test image using different noise levels, using the iterative denoise cfg function for denoising. I also did this for two of my generated images.


Here I again did image-to-image translation, but with hand drawn and web images as shown below.


Here I used a mask to create new content in part of the image. I did this for three images and used two different masks. The last two have my own custom mask which changes the center.
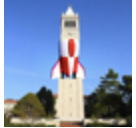


Here I generated three images that look like one image normally and another when viewed upside-down.
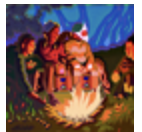


Here I generated three images that look like one image up-close and another when viewed from far away.


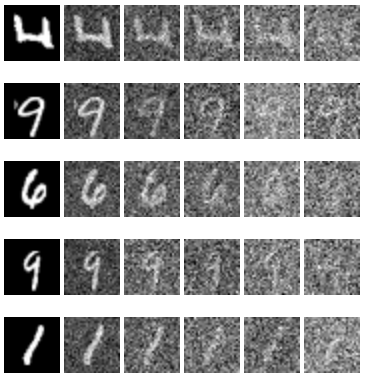
In this part, I trained a single-step denoising UNet. I first implemented the UNet and then used it to train a denoiser. Once that was done, I did some out-of-dist testing to see the results of this denoiser on images of noise levels for which it was not trained.
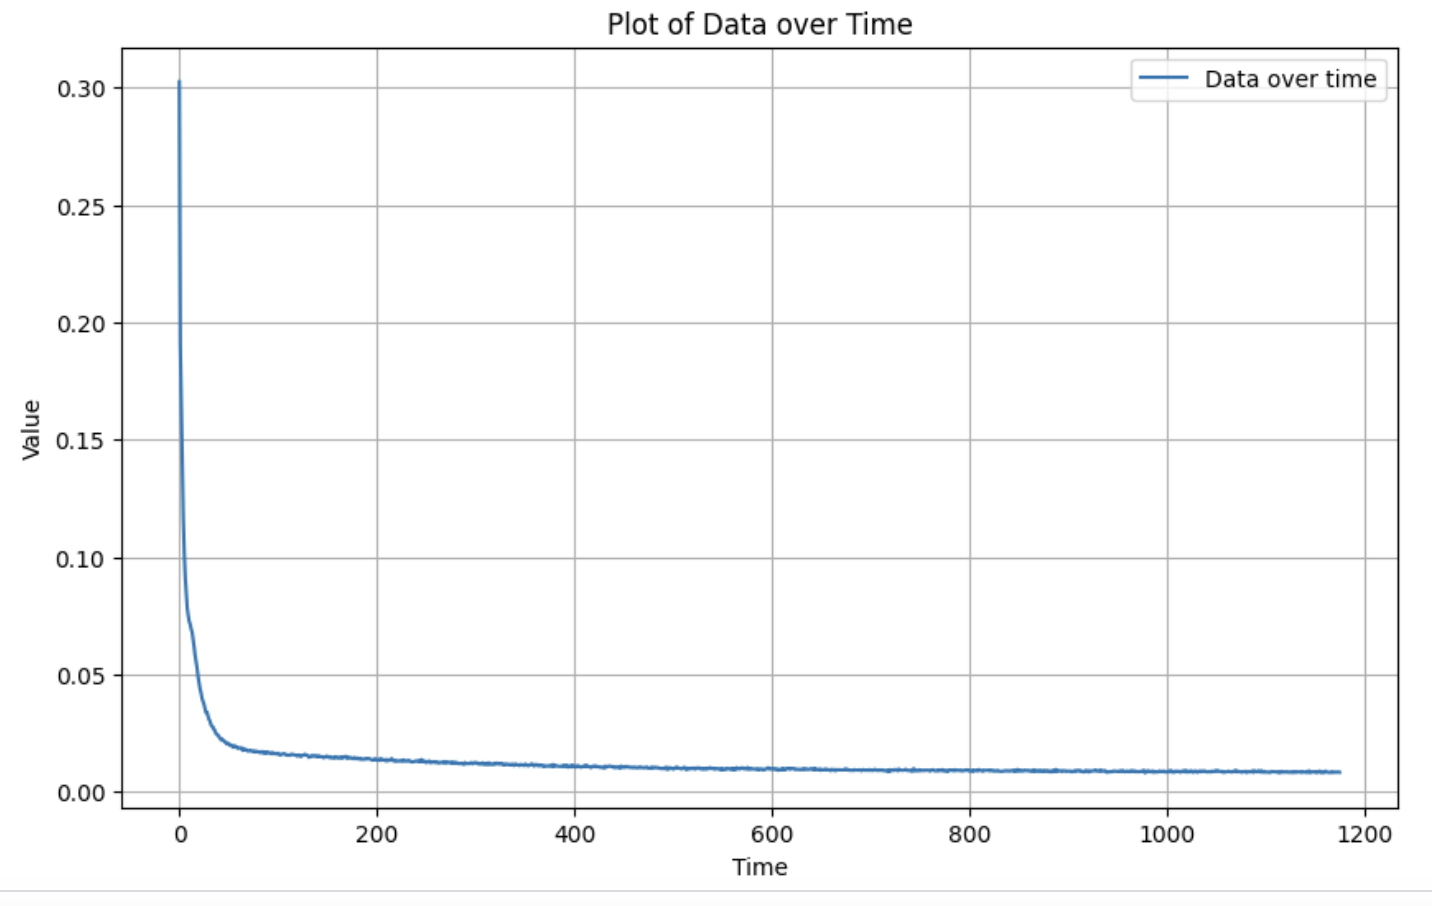
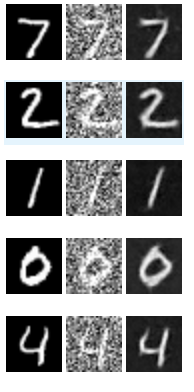
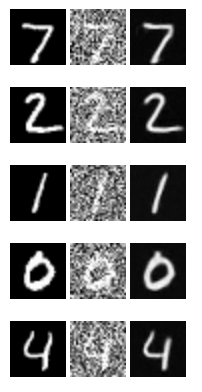

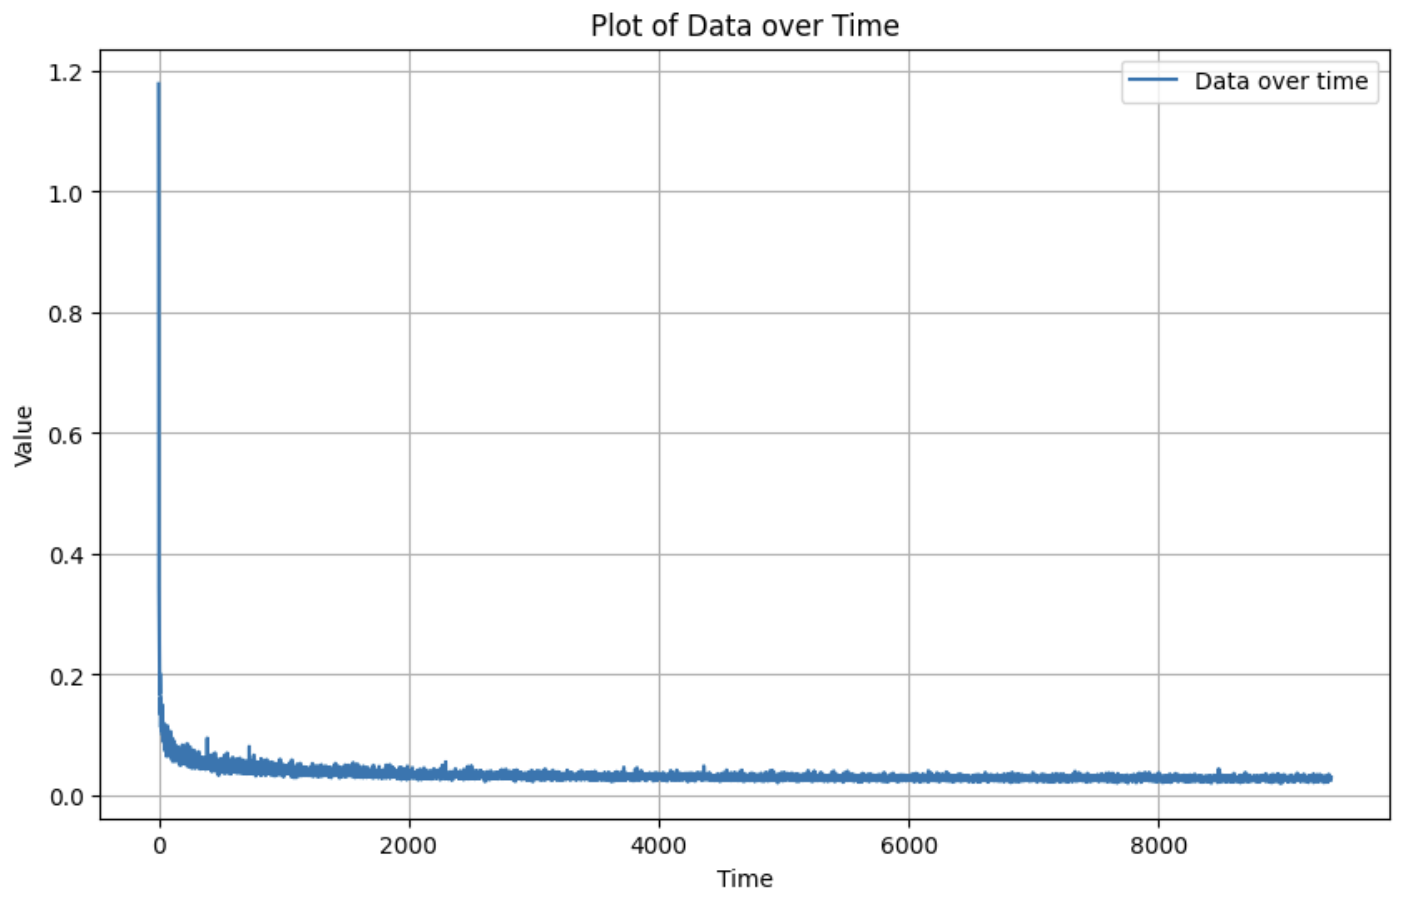
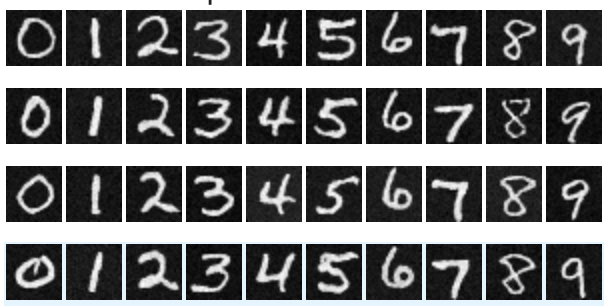
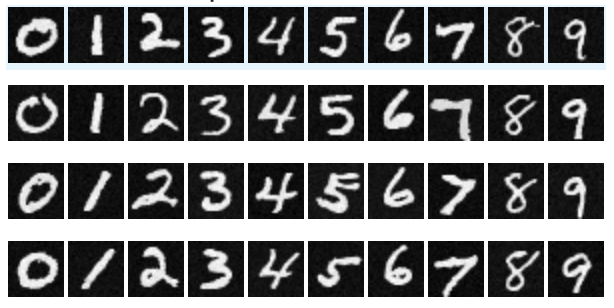
In this part, I trained different diffusion models. I did one that was time-conditioned and one that was class-conditioned as well. Results are below.


I created a custom prompt embedding and then generated a few possible logos for CS 180 which I have displayed. This was using iterative cfg denoising.

Here I have added some GIFs of noise that was generated and the images generated by the time-conditional diffusion model.


