Project 2 - Fun with Filters and Frequencies

1.1

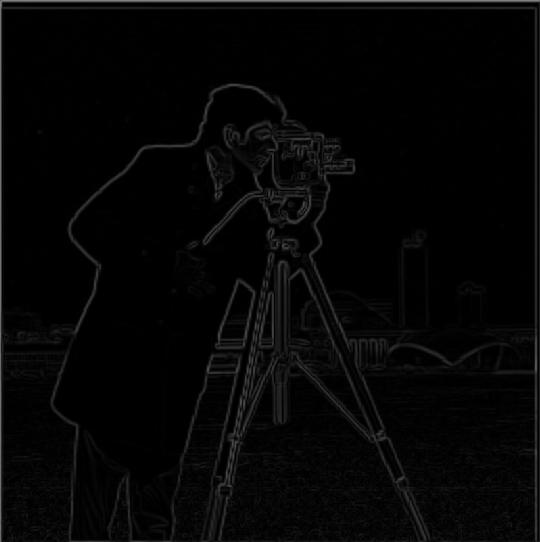
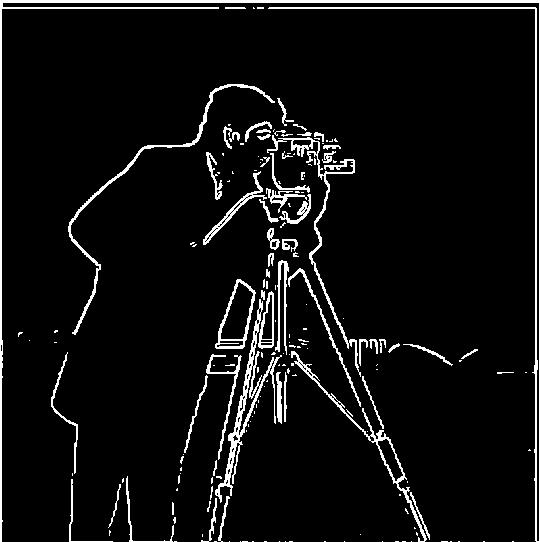
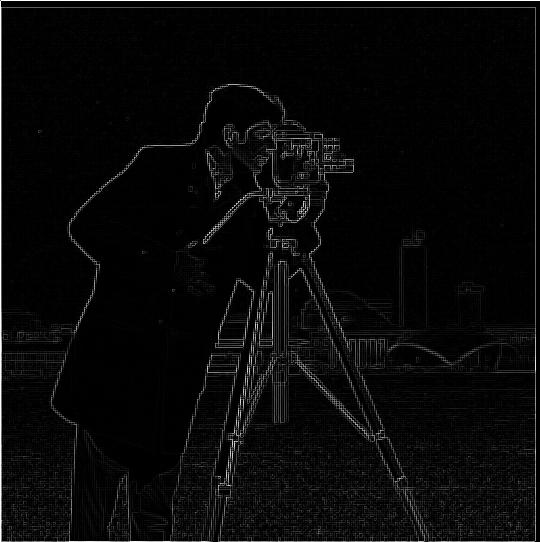
Gradient magnitude computation is a method for detecting edges in image analysis. It's conducted by obtaining the gradient with respect to x at any pixel, dx, as well as the gradient with respect to y, dy, and then taking the square root of dx^2 + dy^2. This gives a singular value that represents the strength of the gradient at a particular point.

Cathedral
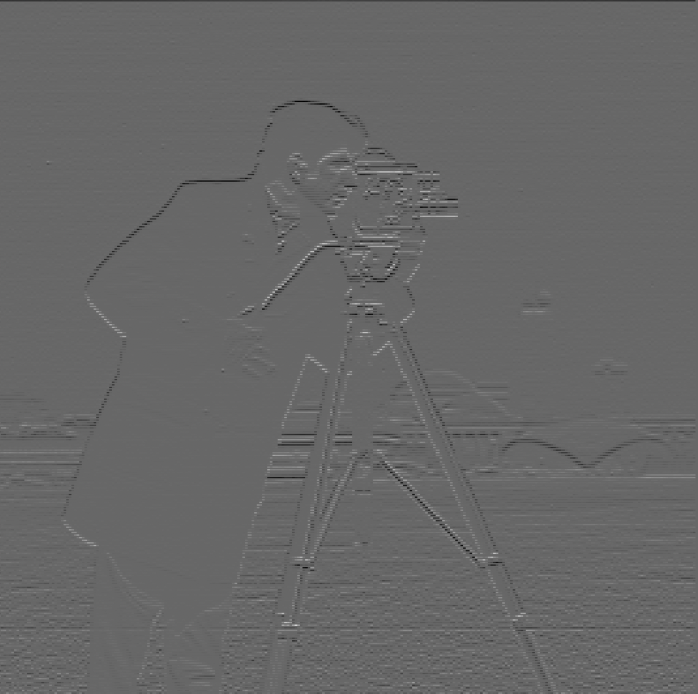
X Gradients
Grayscale image of x gradients.
Church
Y Gradients
Grayscale image of y gradients.
Emir
Gradient Magnitude
Gradient magnitude image using both x and y
Harvesters
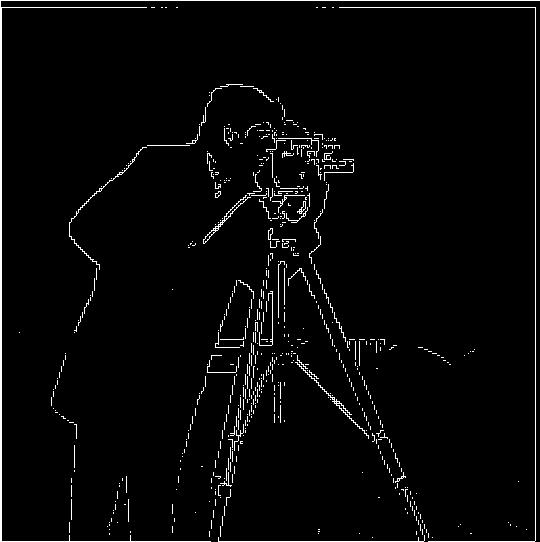
Binarized Magnitude
Binarized version of gradient magnitude image, threshold .65.

1.2

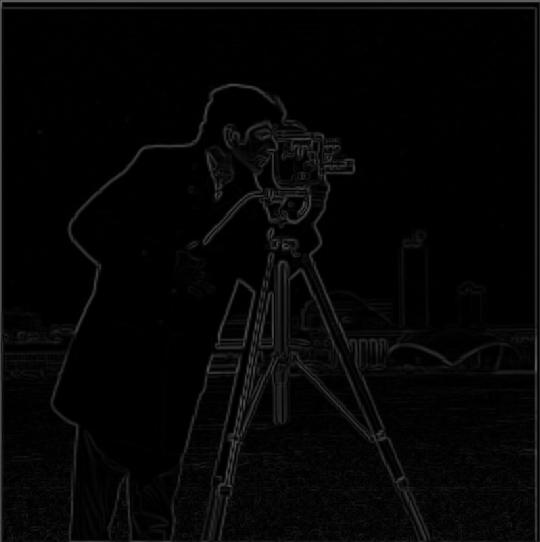
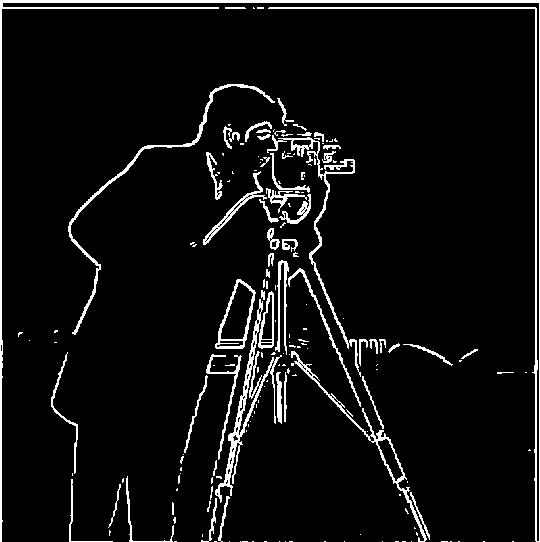
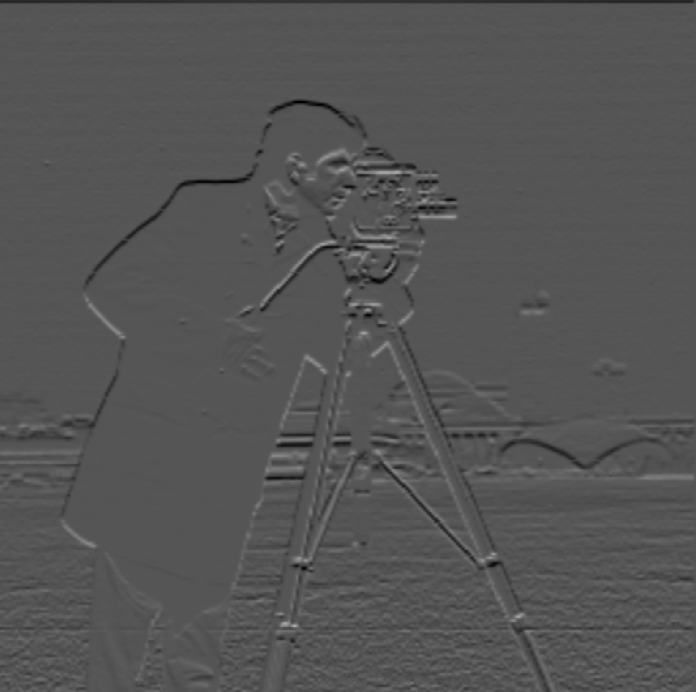
There were a few primary differences that I noted between the results of applying the Gaussian filter prior to doing the binarized gradient magnitude computation and not applying the filter. One difference was that with the Gaussian filter, edges were a lot more pronounced. Another major difference was there was a lot less noise when the Gaussian filter was applied. Moreover, the edges displayed best with a lower threshold when the Gaussian filter was used. In addition, I also tried created derivative of Gaussian (DoG) filters, an approach for which the original image was convoluted with combined Gaussian/dx and Gaussian/dy filters. This led to the exact same result as when the Gaussian was applied prior to the derivative filters, which is aligned with the theorem discussed in class.

Cathedral
X Gradients with Gaussian
Grayscale image of x gradients after Gaussian filter.
Church
Y Gradients
Grayscale image of y gradients after Gaussian filter.
Emir
Gradient Magnitude
Gradient magnitude image using both x and y after Gaussian filter.
Harvesters
Binarized Magnitude
Binarized version of gradient magnitude image, threshold .55 after Gaussian filter
Emir
Gradient Magnitude DoG
Gradient magnitude image using both x and y after DoG filter.
Harvesters
Binarized Magnitude DoG
Binarized version of gradient magnitude image, threshold .55 after DoG filter

2.1

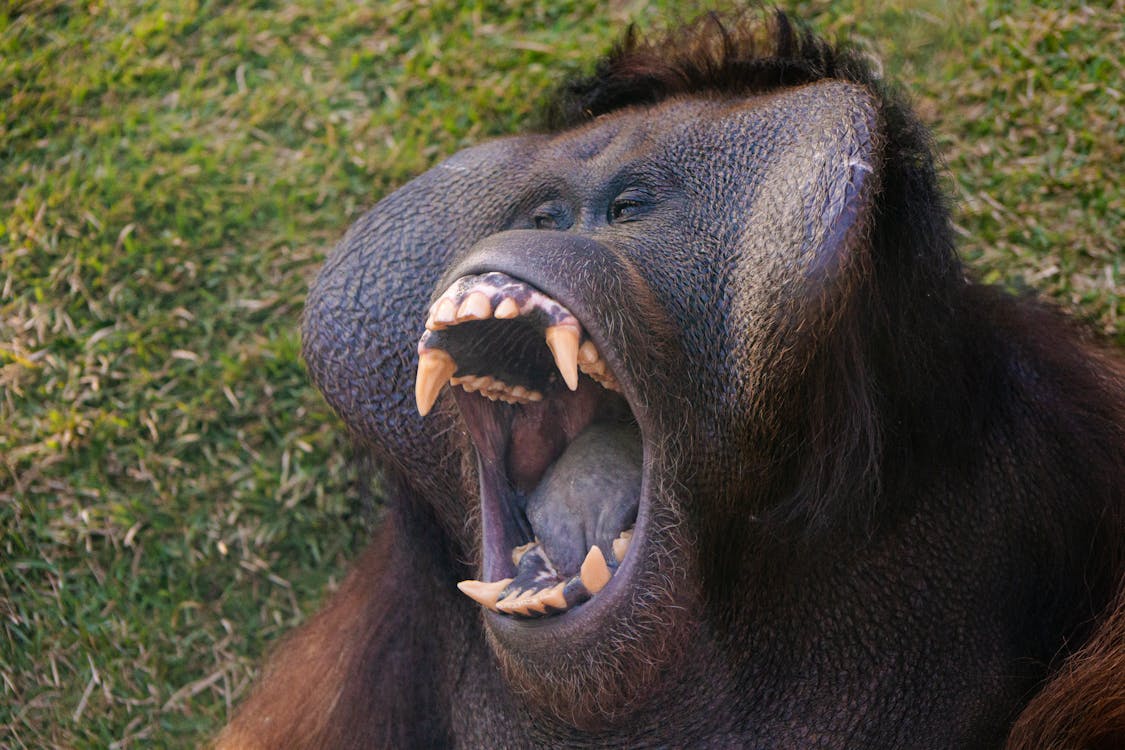
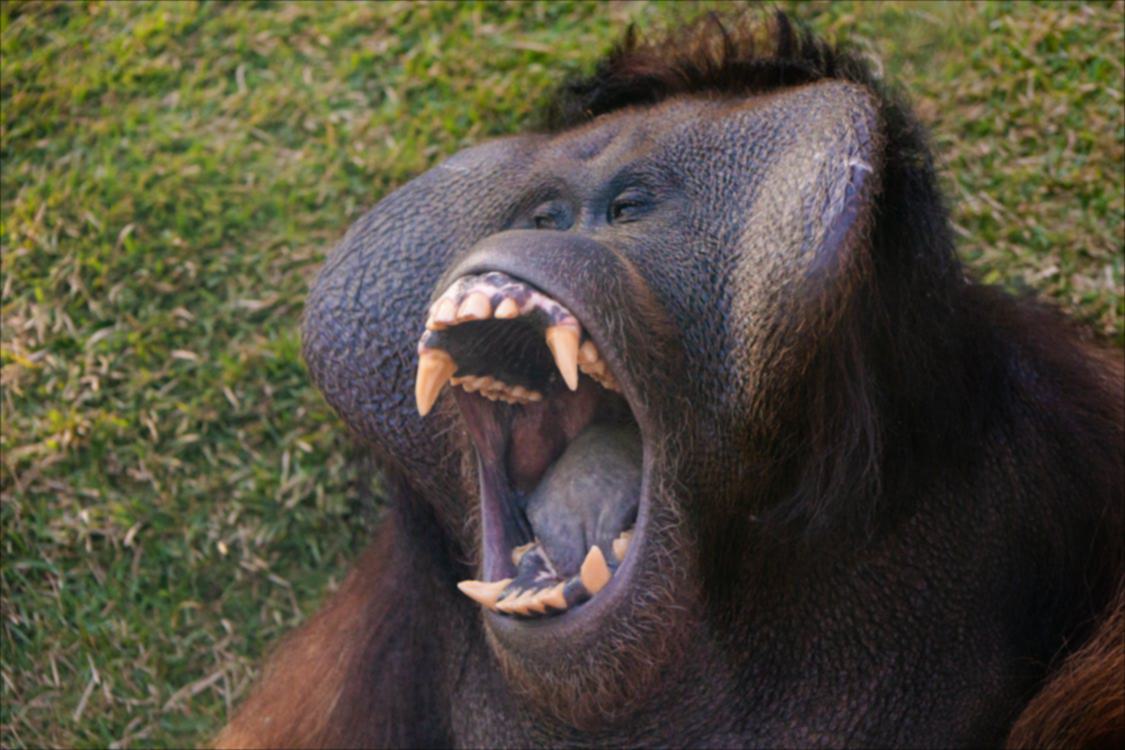
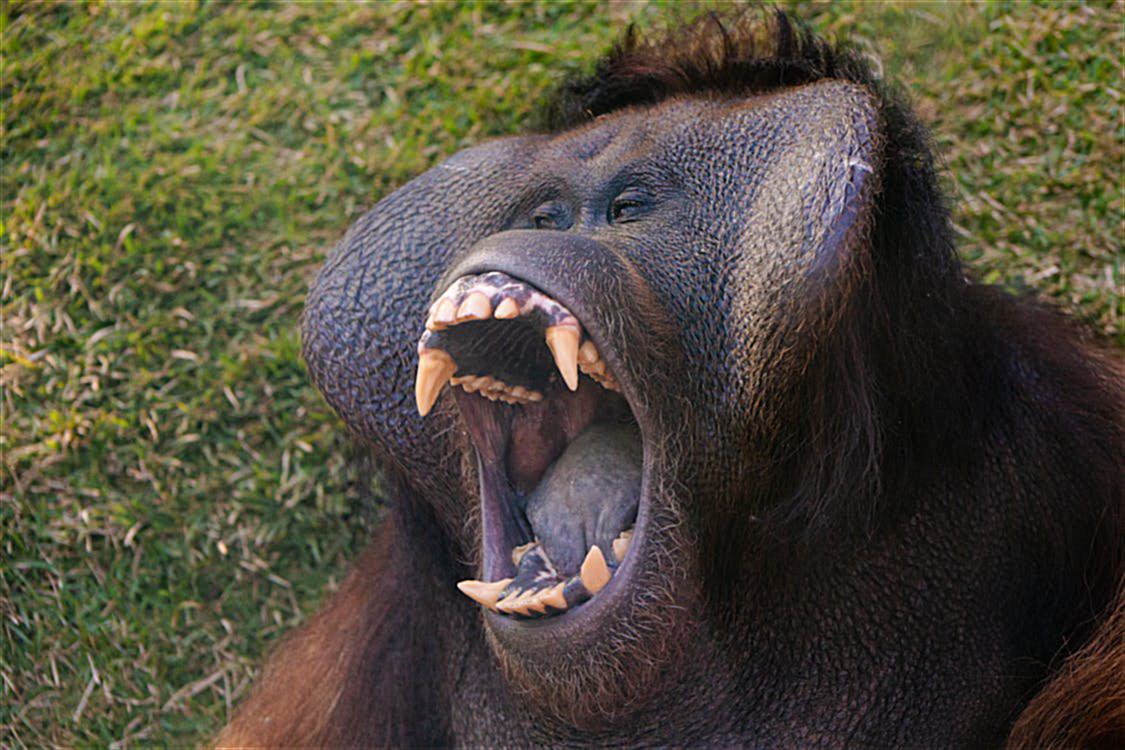
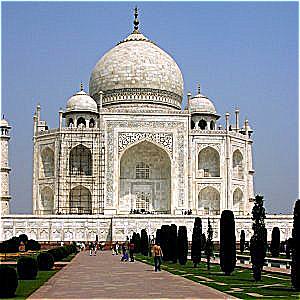
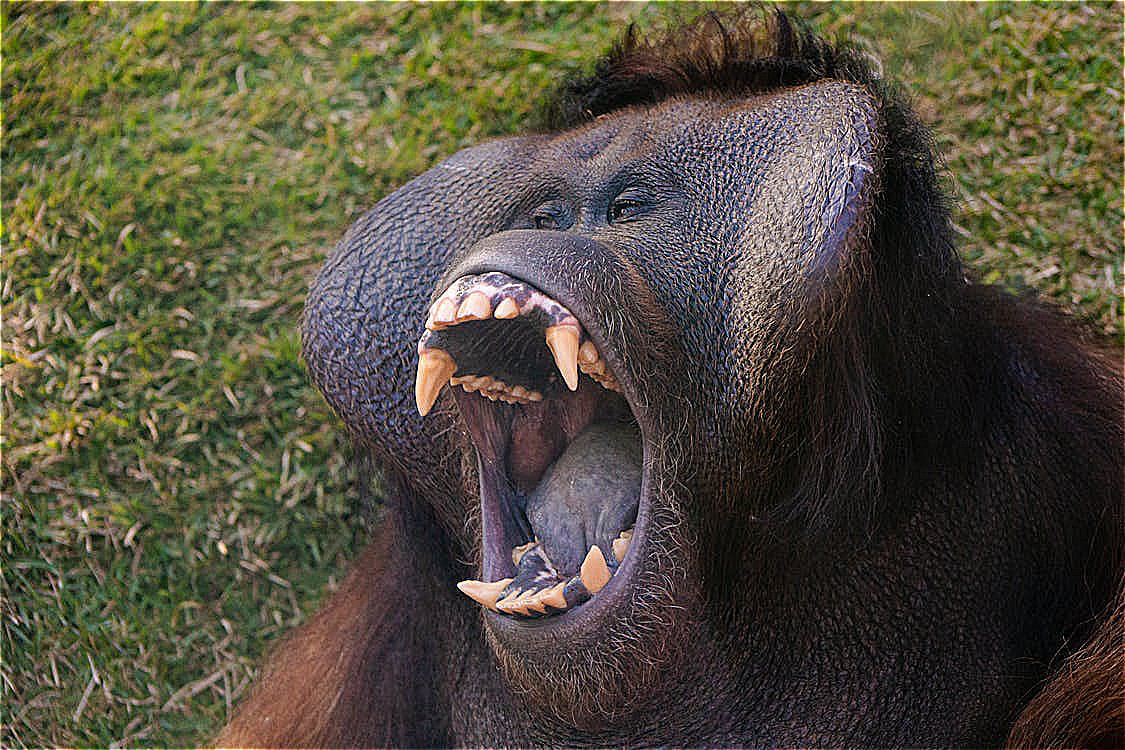
I initially tried just sharpening two images that were already sharp with this filter. The results were extremely sharp, to the point where they appeared artificial. I then tried blurring a sharp image and then sharpening it. The sharpened image is significantly sharper compared to the blurry image. However, it is still not quite as sharp as the original. It also appears slightly more pixelated than the original. This holds for both the Taj Mahal image and the gorilla.
Cathedral
Sharpened Taj
Sharpened with identity - gaussian filter (a = 3, Gaussian kernel 5 and sigma 1).
Cathedral
Sharpened Gorilla
Sharpened with identity - gaussian filter (a = 3, Gaussian kernel 5 and sigma 1).
Cathedral
Original Taj Mahal
No Modifications
Church
Original Gorilla
No Modifications
Emir
Blurred Taj Mahal
Taj Mahal after kernel 5, sigma 1 Gaussian 2d filter.
Harvesters
Blurred Gorilla
Gorilla after kernel 5, sigma 1 Gaussian 2d filter.
Emir
Sharpened Taj Mahal
Blurred Taj Mahal after identity - gaussian filter (a = 3, same Gaussian).
Harvesters
Sharpened Gorilla
Blurred Gorilla after identity - gaussian filter (a = 3, same Gaussian).

2.2 (with bells and whistles)

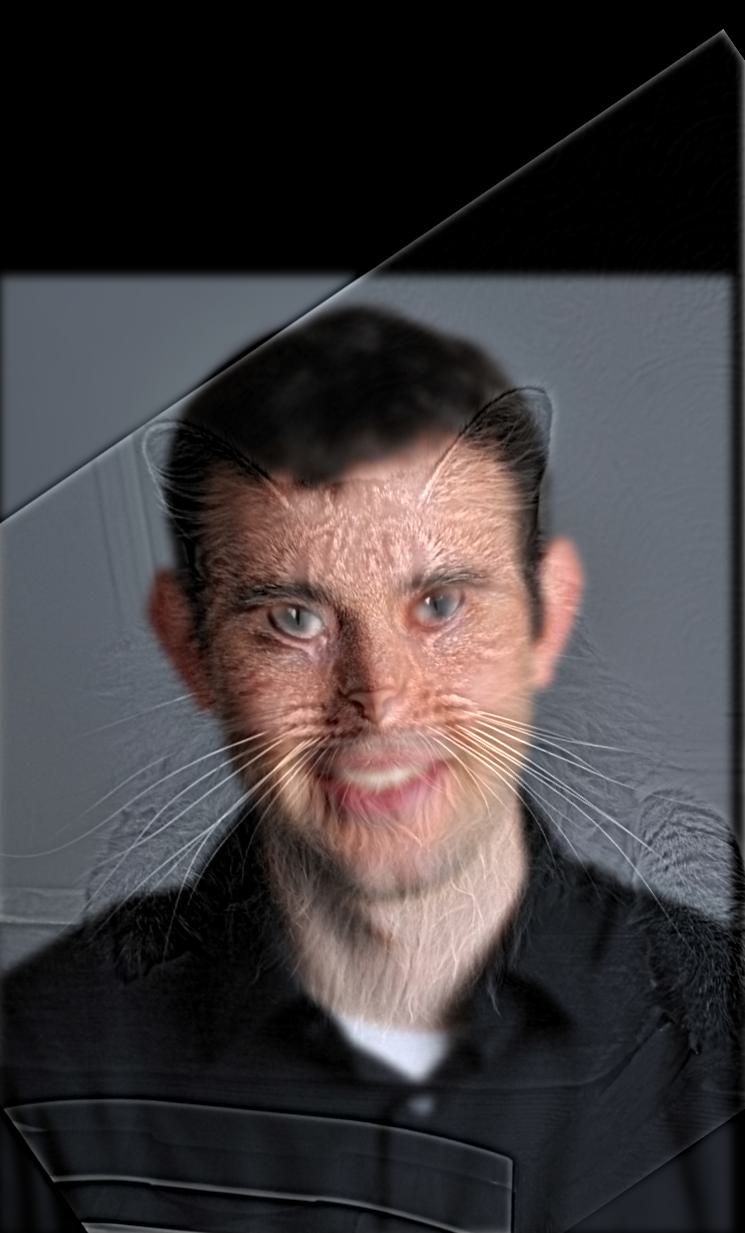
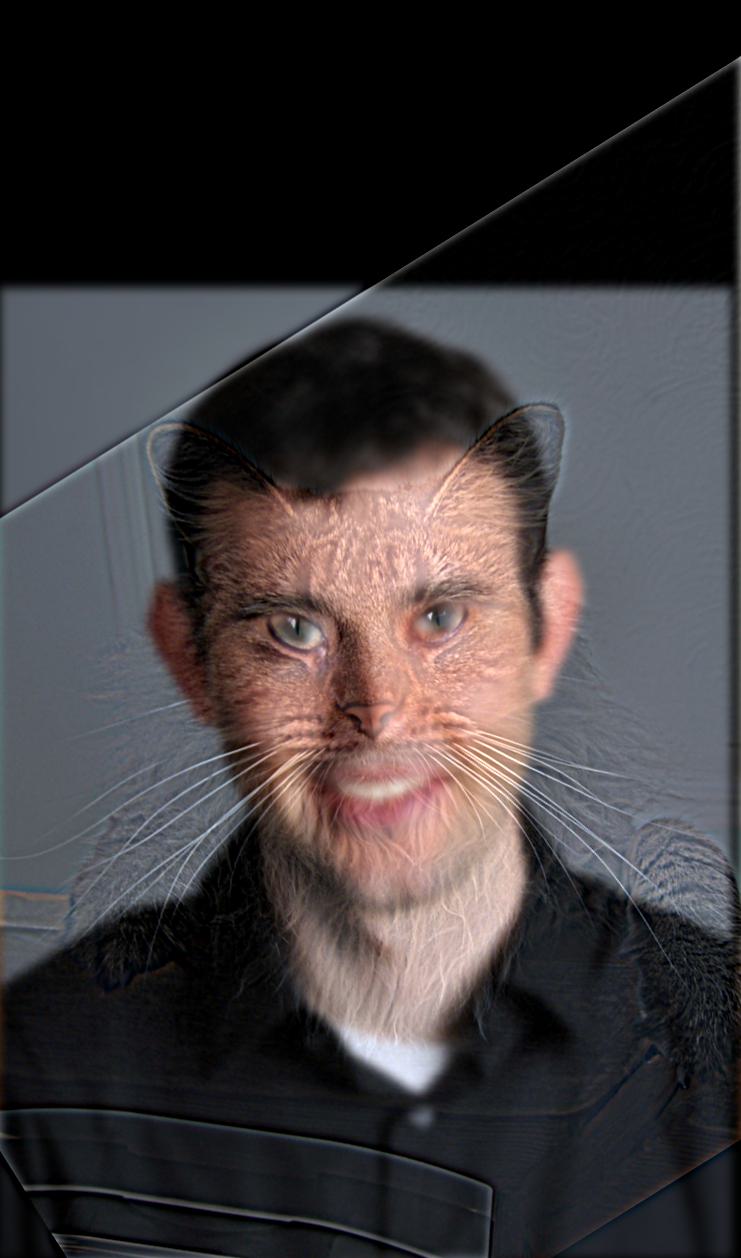
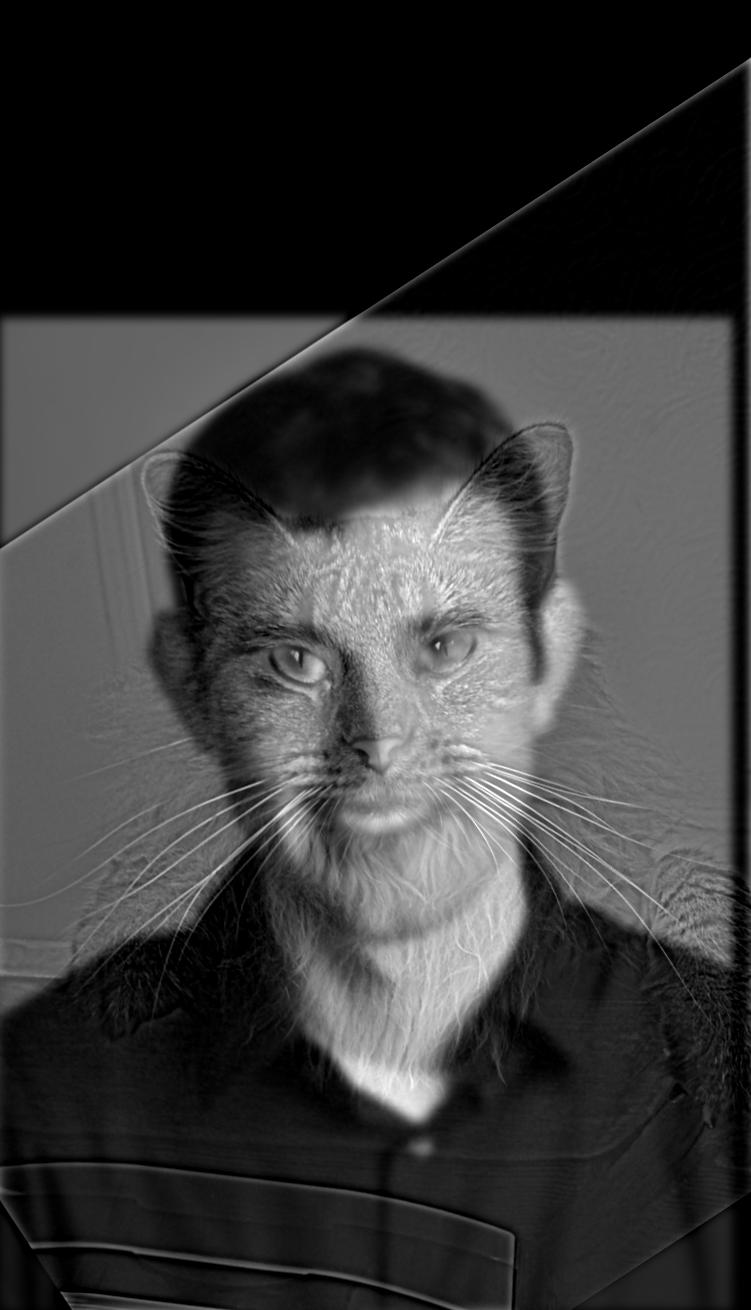
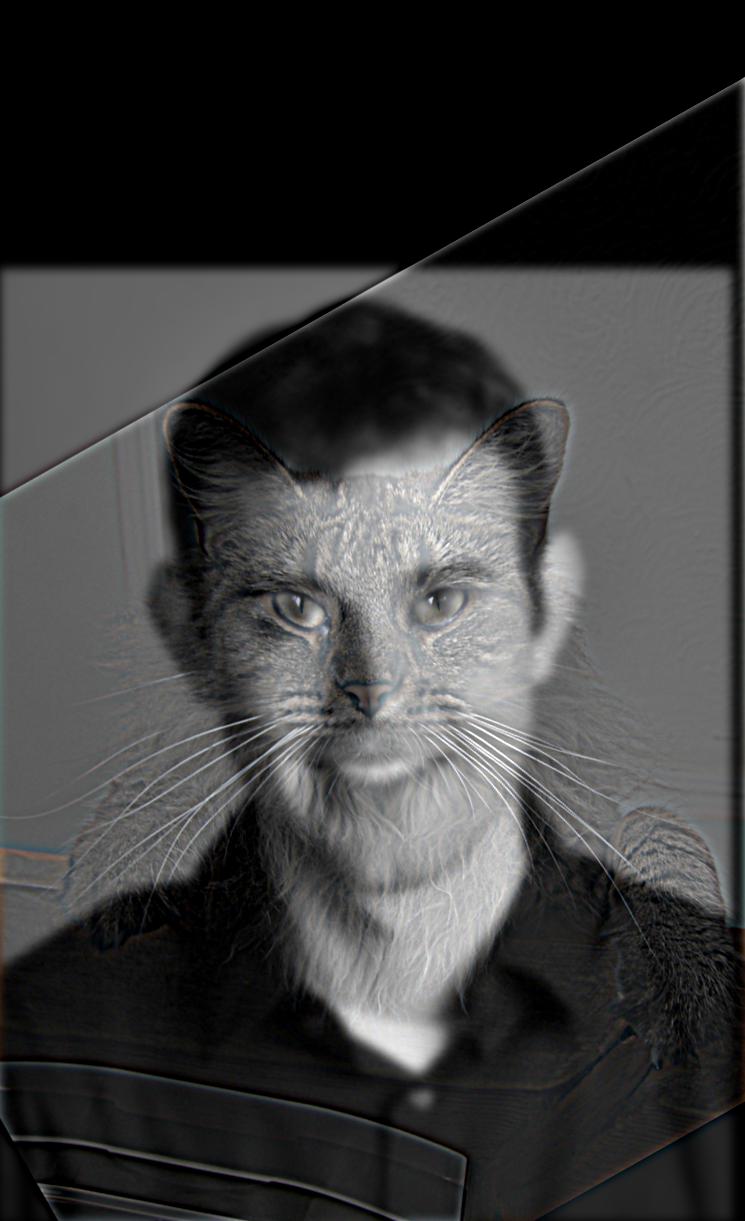
I initially got the colorless low/high frequency blending to work with Derek and the cat with sigma values of 5 for both the Gaussian and the unsharp mask filter. I then attempted to use color for one or both images, finding that using color for the high-frequency image worked best. I tried blending two flowers together which worked well with low-frequency sigma 1 and high-frequency sigma 10 (sunflower and daisy). I also tried blending together Michael Jordan and Anthony Edwards, which didn't work as well (sigma values 2 for each).
Cathedral
Colorless Blend
Sigma values of 5. Kernel Size 21.
Cathedral
Colored Cat
Sigma values of 5. Kernel size 21.
Cathedral
Colored Derek
Sigma values of 5. Kernel size 21.
Church
Full Color
Sigma values of 5. Kernel size 21.
Emir
Jordan and Edwards
Sigma values of 2, kernel size 21.
Harvesters
Daisy and Sunflower
Low-freq sigma 1, high-freq sigma 10. Kernel size 21.
Emir
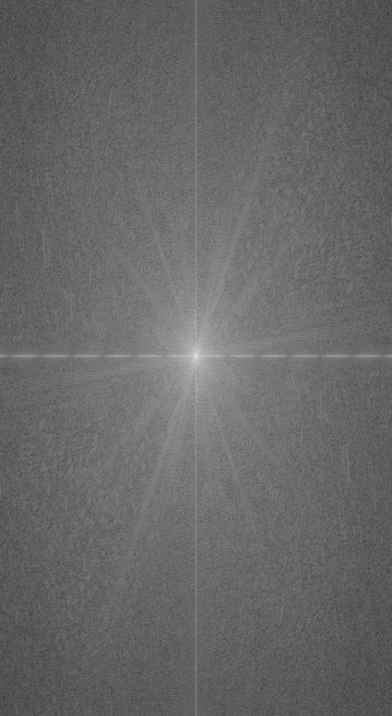
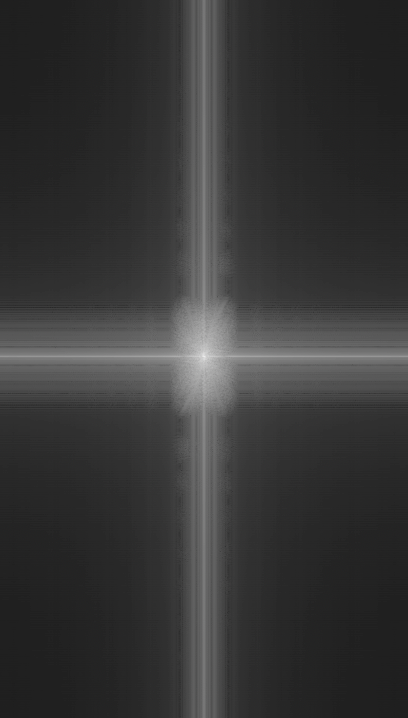
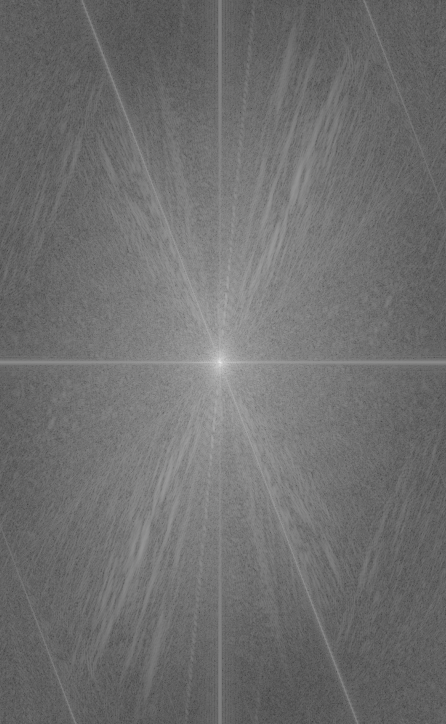
FFT of Cat
Harvesters
FFT of Filtered Cat
Emir
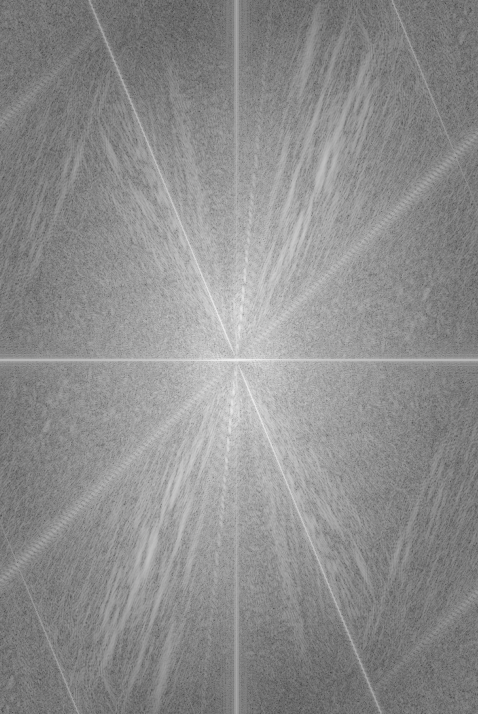
FFT of Derek
Harvesters
FFT of Filtered Derek
Harvesters
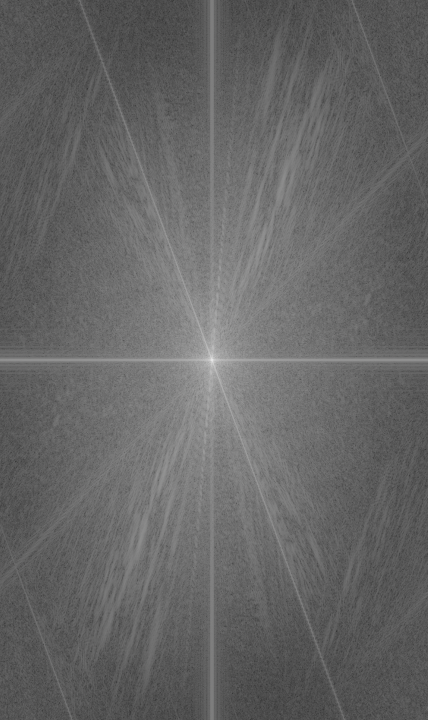
FFT of Final Image

2.3/4 (with bells and whistles)

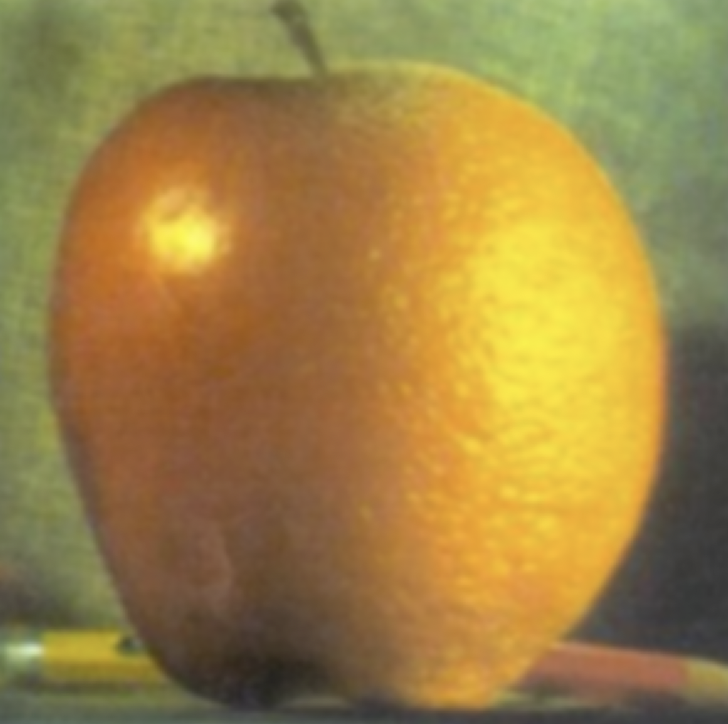
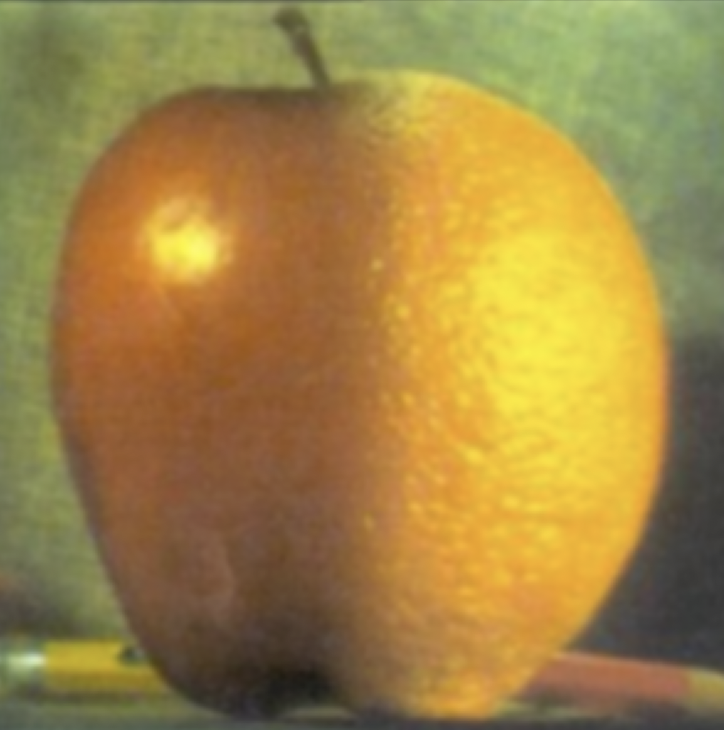
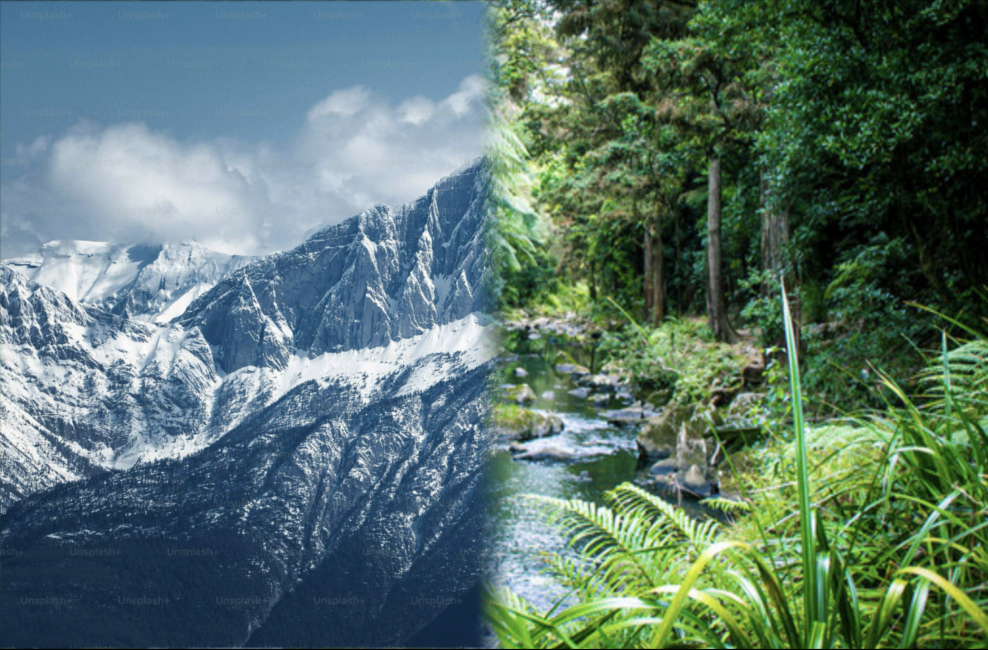
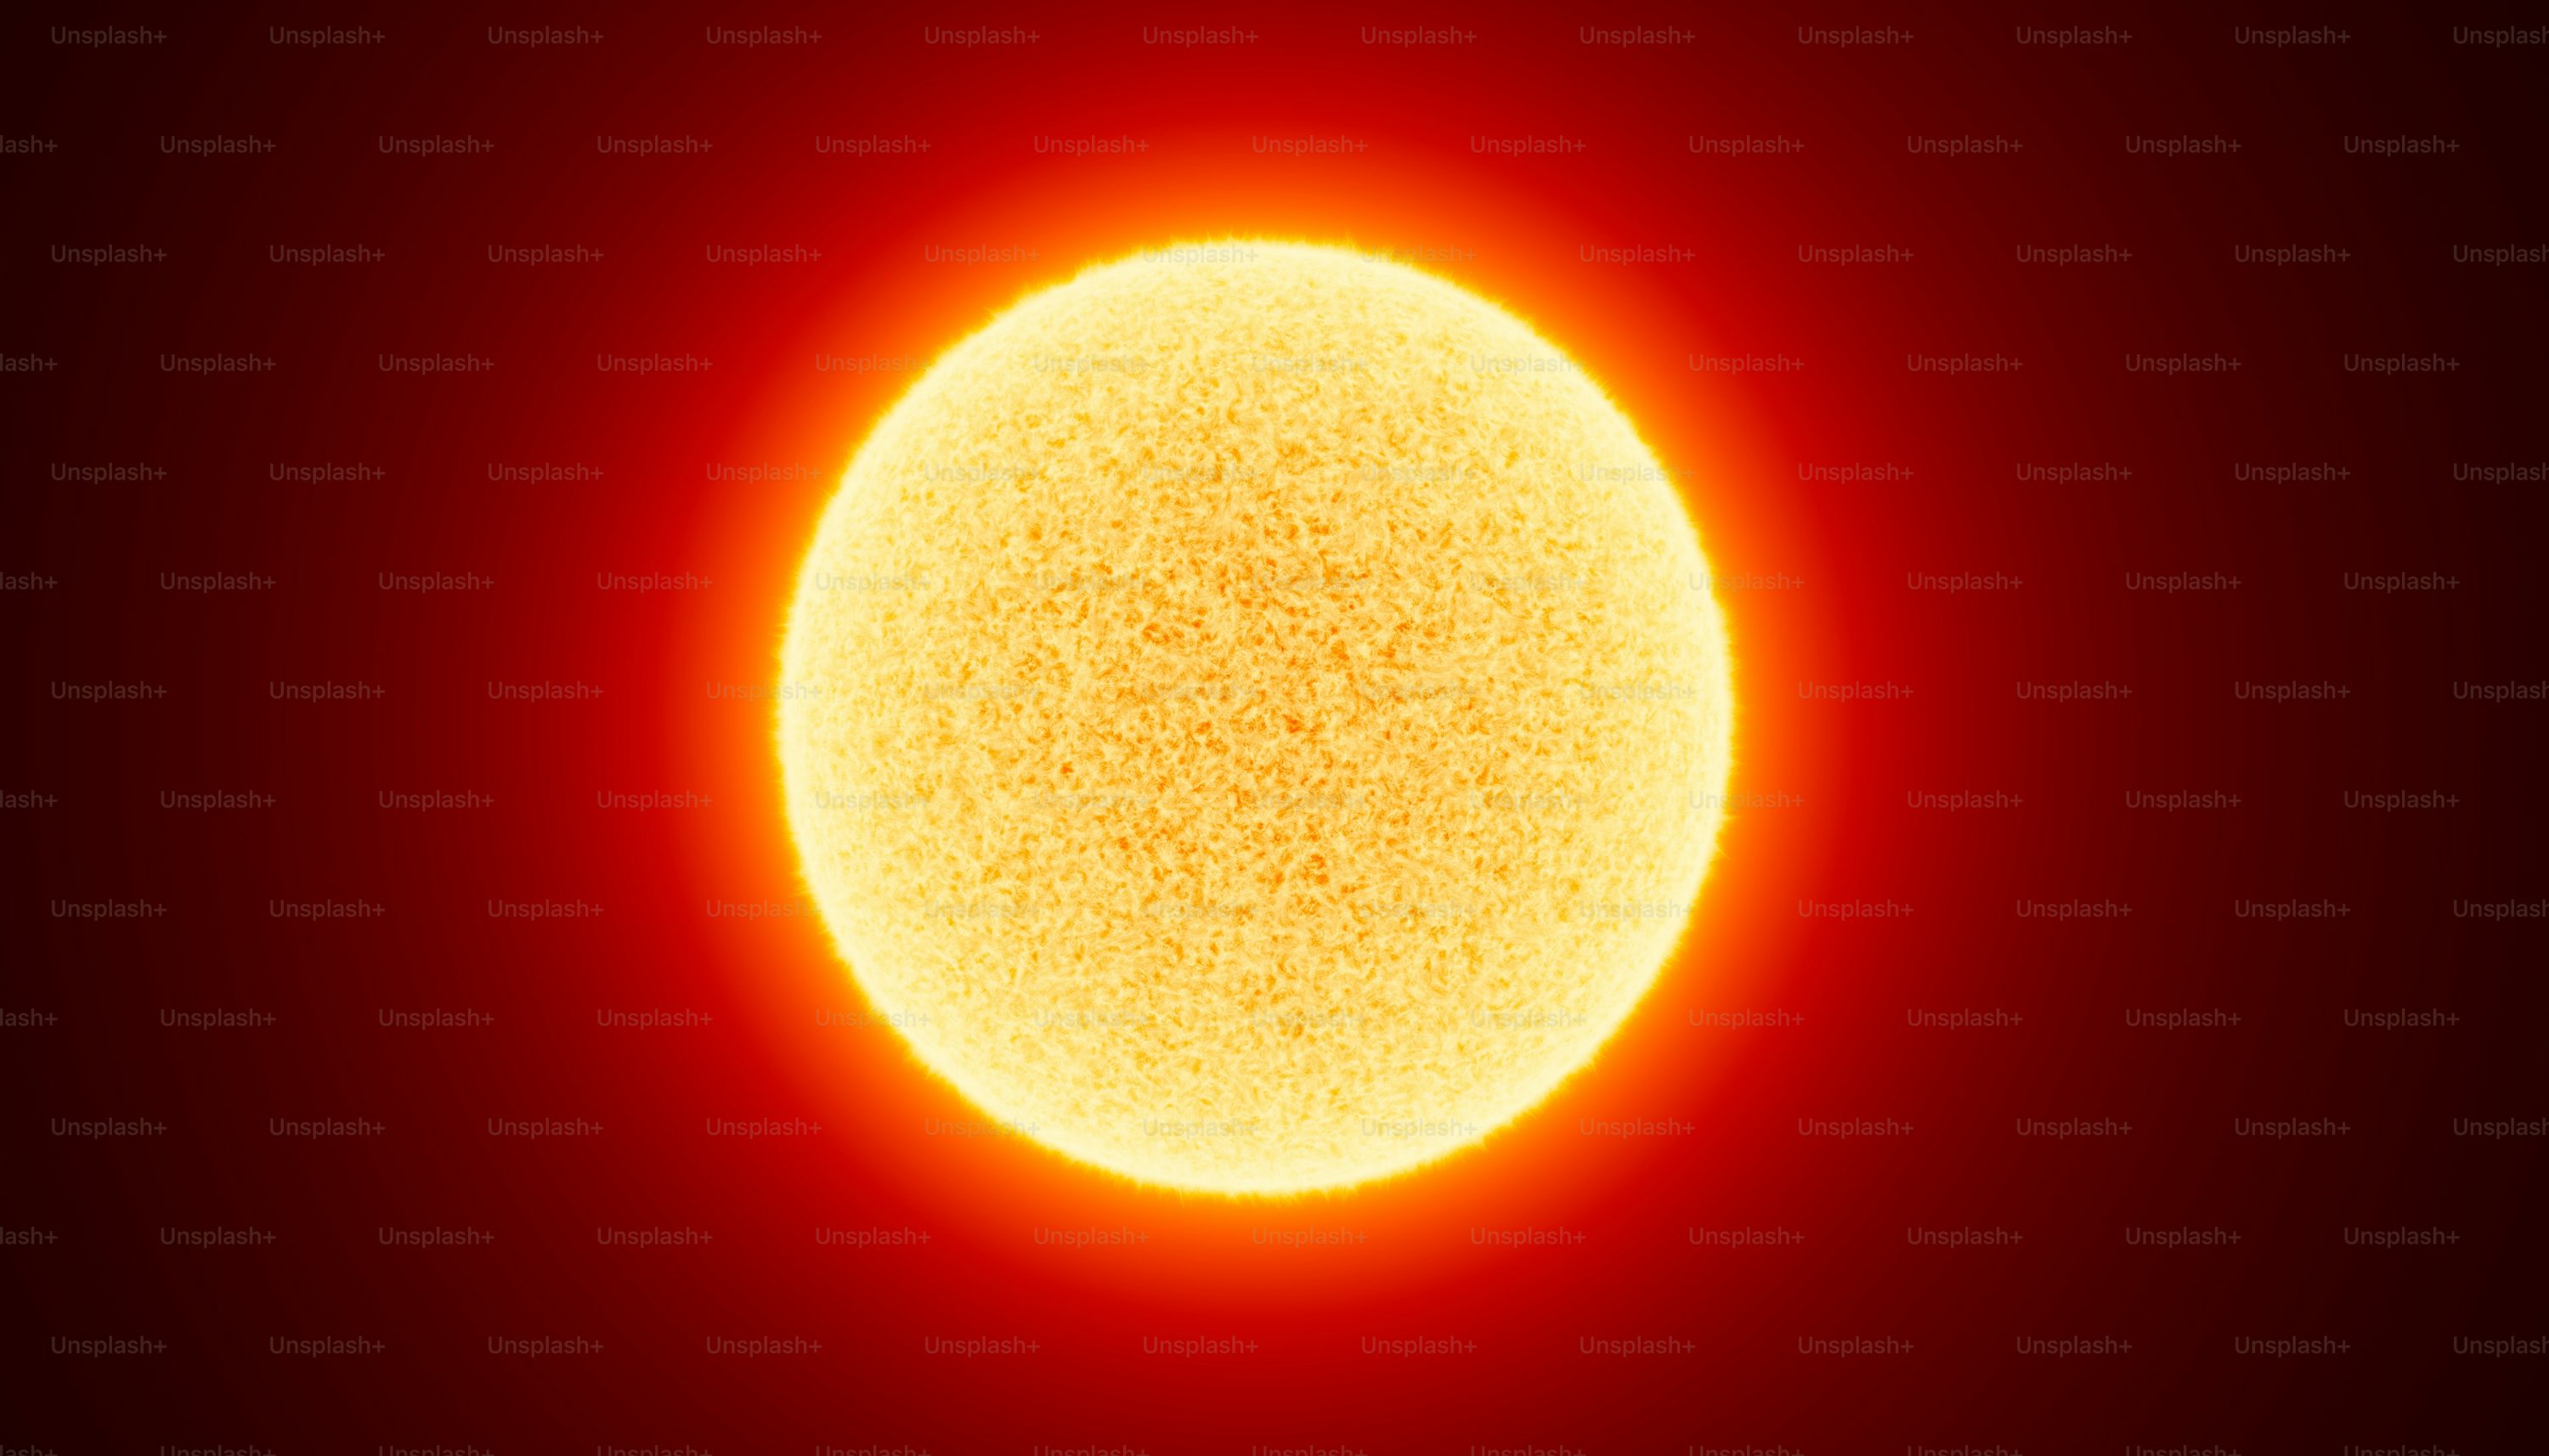
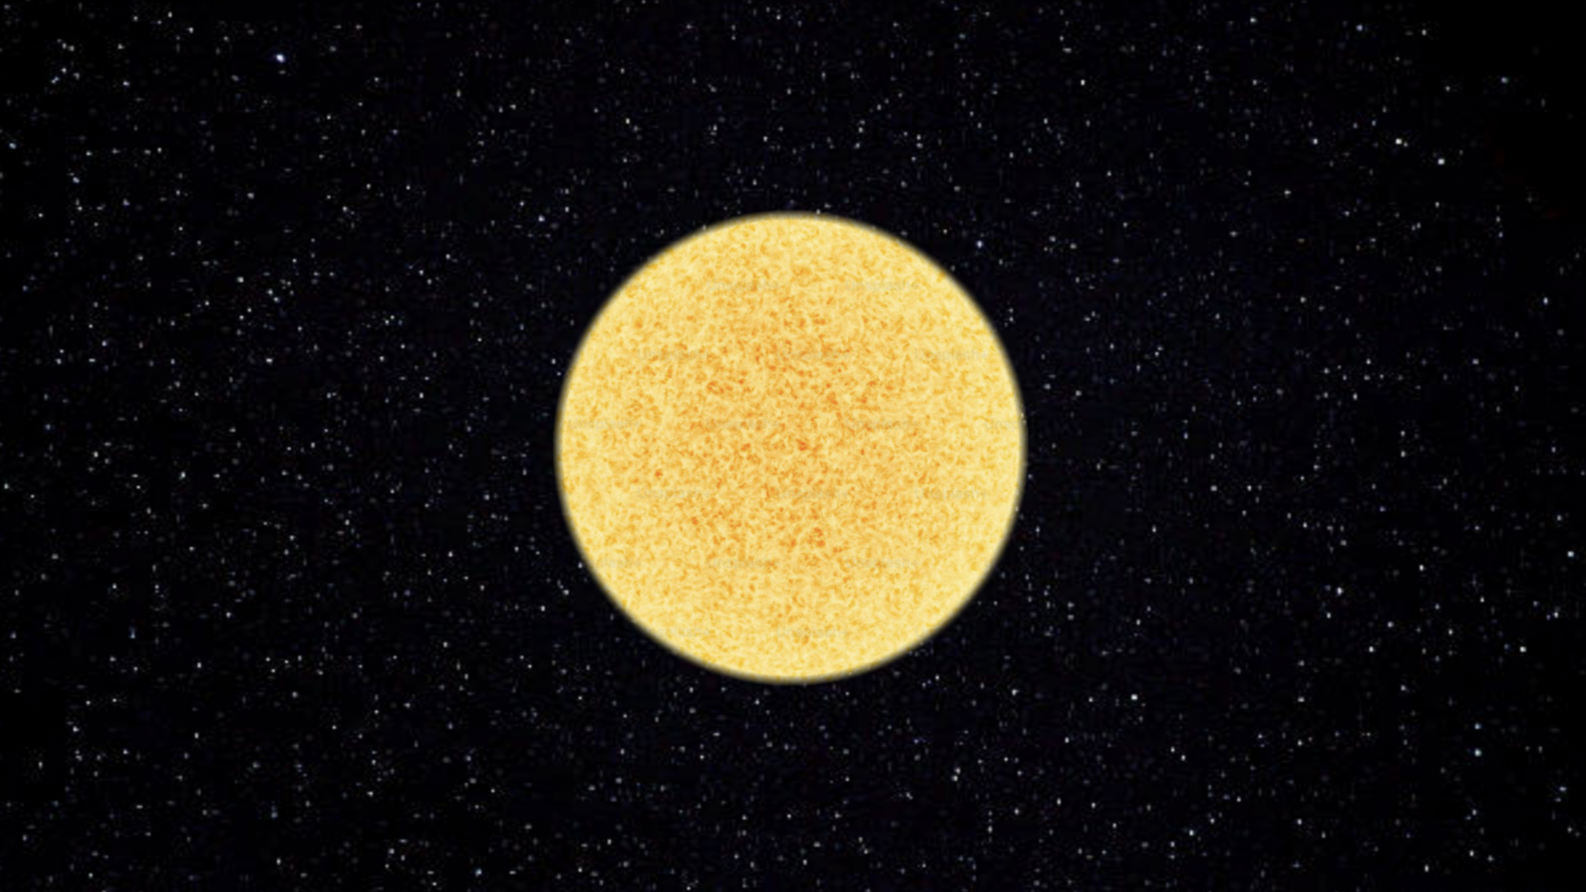
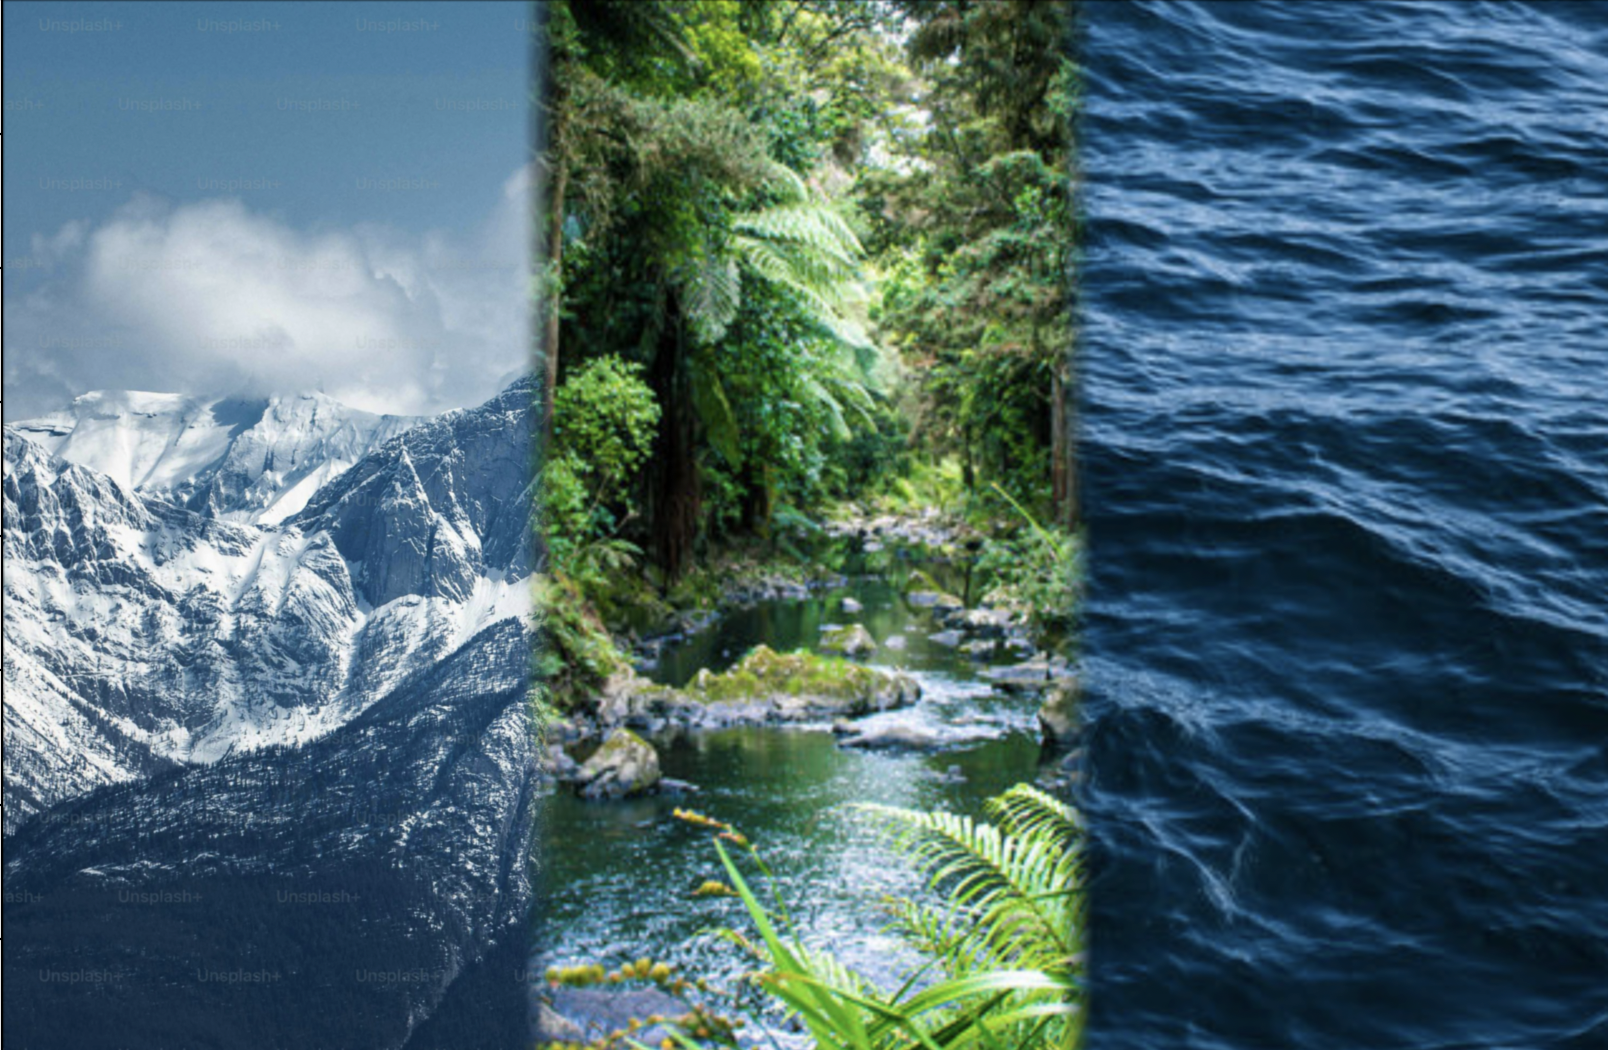
I created combined images of the sun with other stars and a mountain next to a rainforest. For bells and whistles, one thing I implemented was full color for the apples/oranges. Also, I used a transition region for the mask, gradually decreasing values from 1 to 0 starting 25 pixels to the left of the middle. I used this for the mountain/rainforest blend as well. Moreover, I created a combination of 3 images using multiple masks for bells and whistles.

Cathedral
Gaussian of Apple
Sigma values of 2^level. Kernel size 11.
Cathedral
Laplacian of Apple
Sigma values of 2^level. Kernel size 11.
Cathedral
Gaussian of Orange
Sigma values of 2^level. Kernel size 11.
Cathedral
Laplacian of Orange
Sigma values of 2^level. Kernel size 11.
Emir
Orange and Apple Blend
With Transition Region
Emir
Orange and Apple Blend
Without Transition Region
Emir
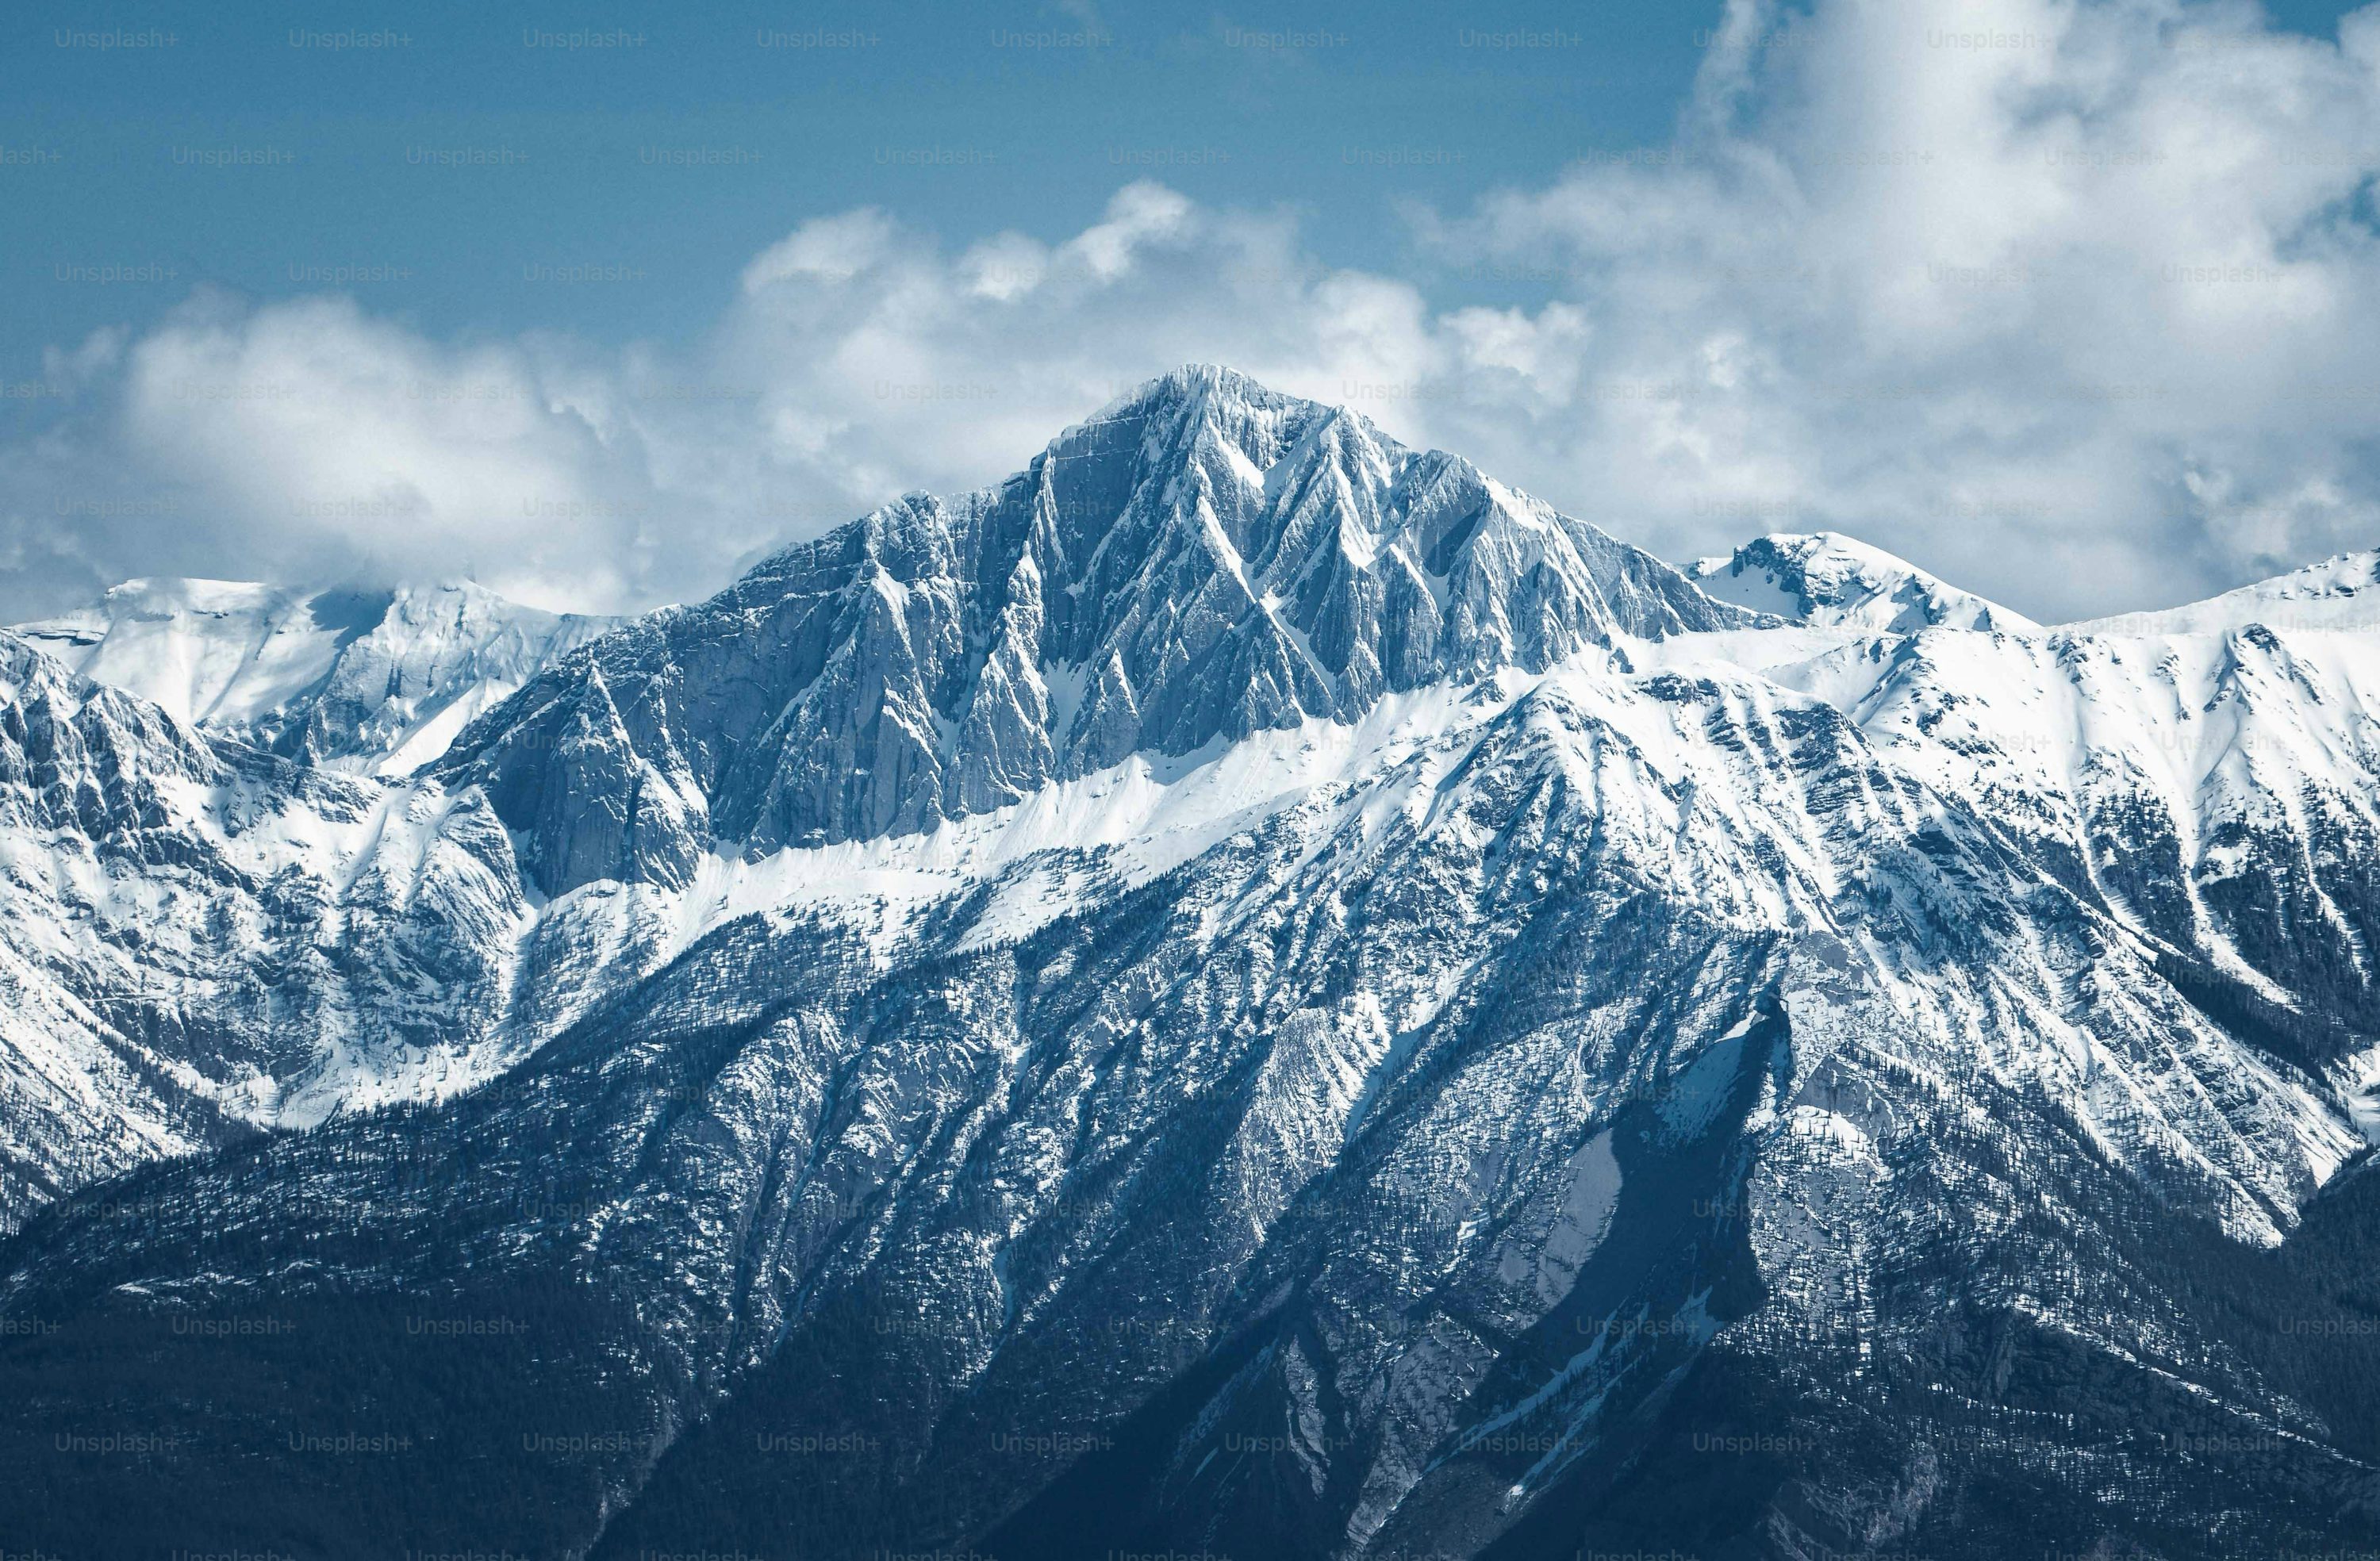
Mountain
Harvesters
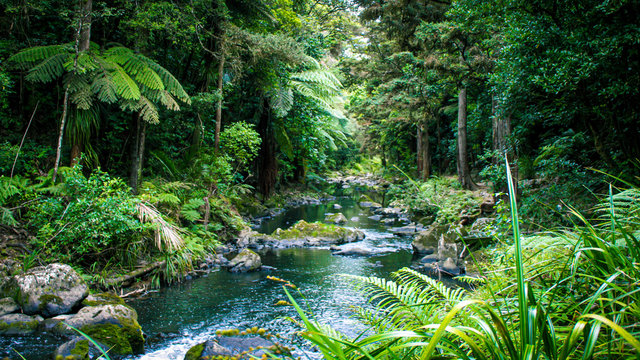
Rainforest
Emir
Mountain and Rainforest
5 Layer Blend.
Harvesters
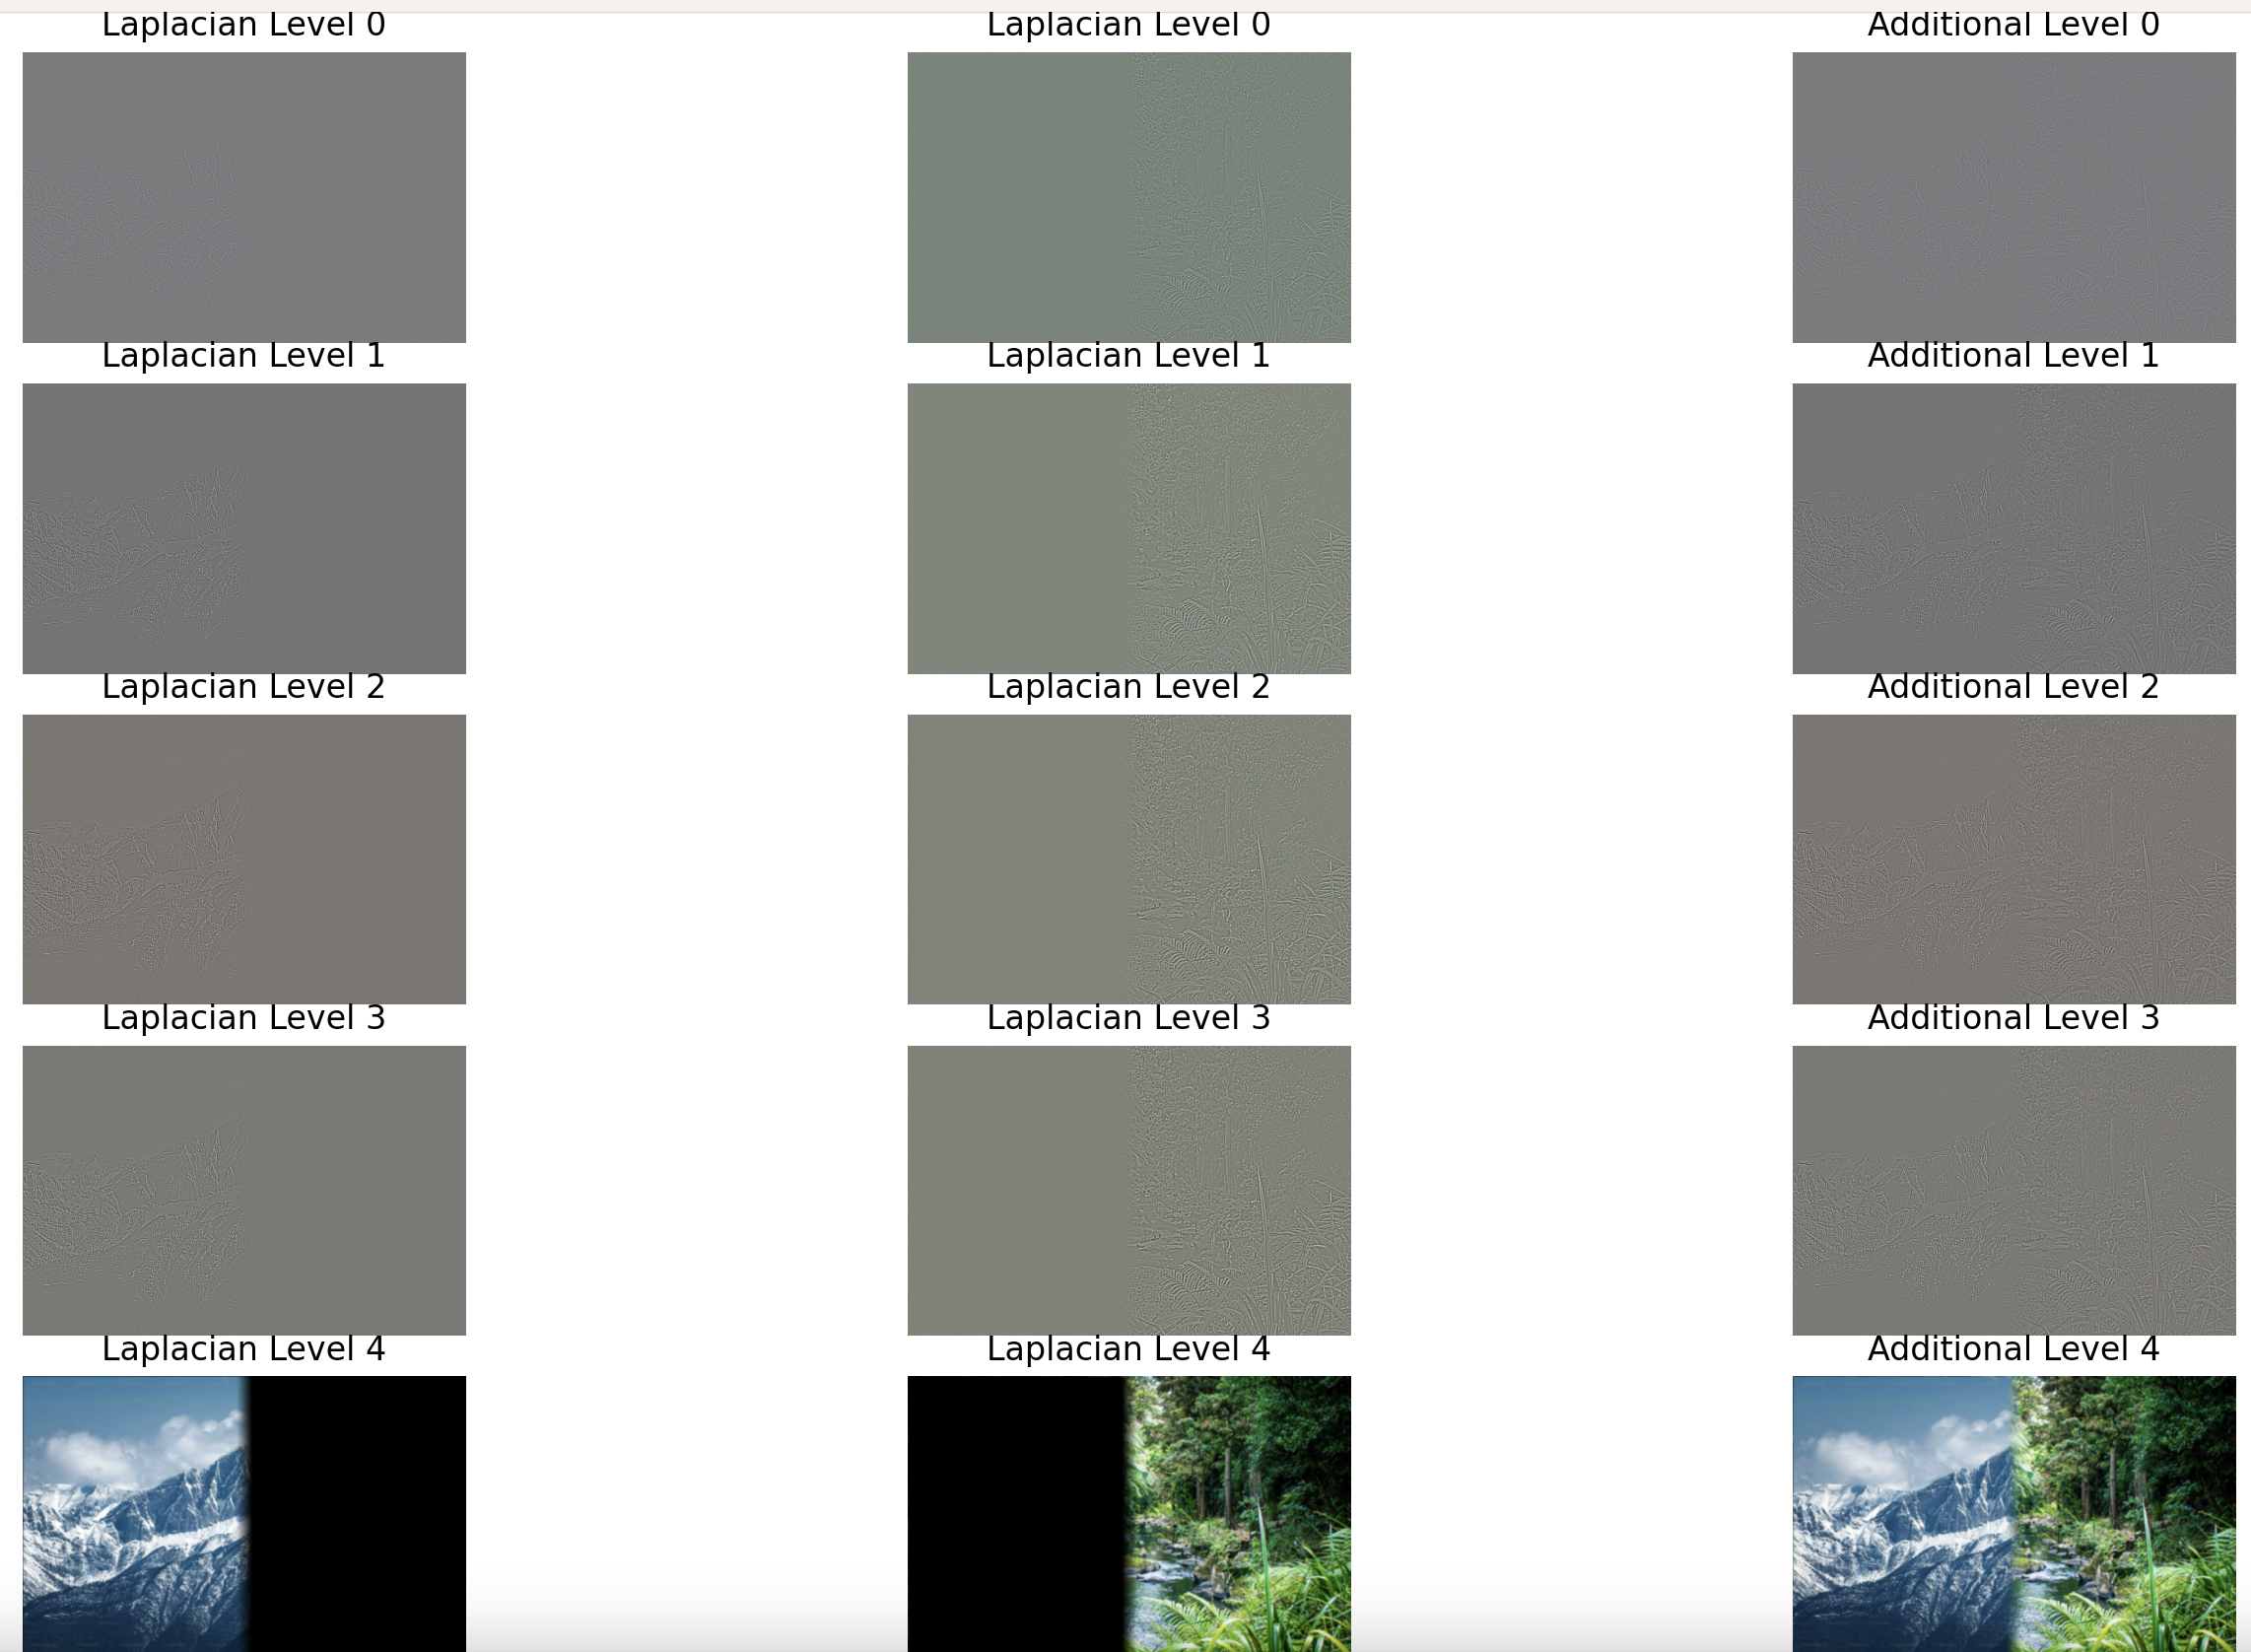
Laplace, Gauss, Combined for Mountain/Forest
Emir
Stars
Harvesters
Sun
Emir
Sun and Stars
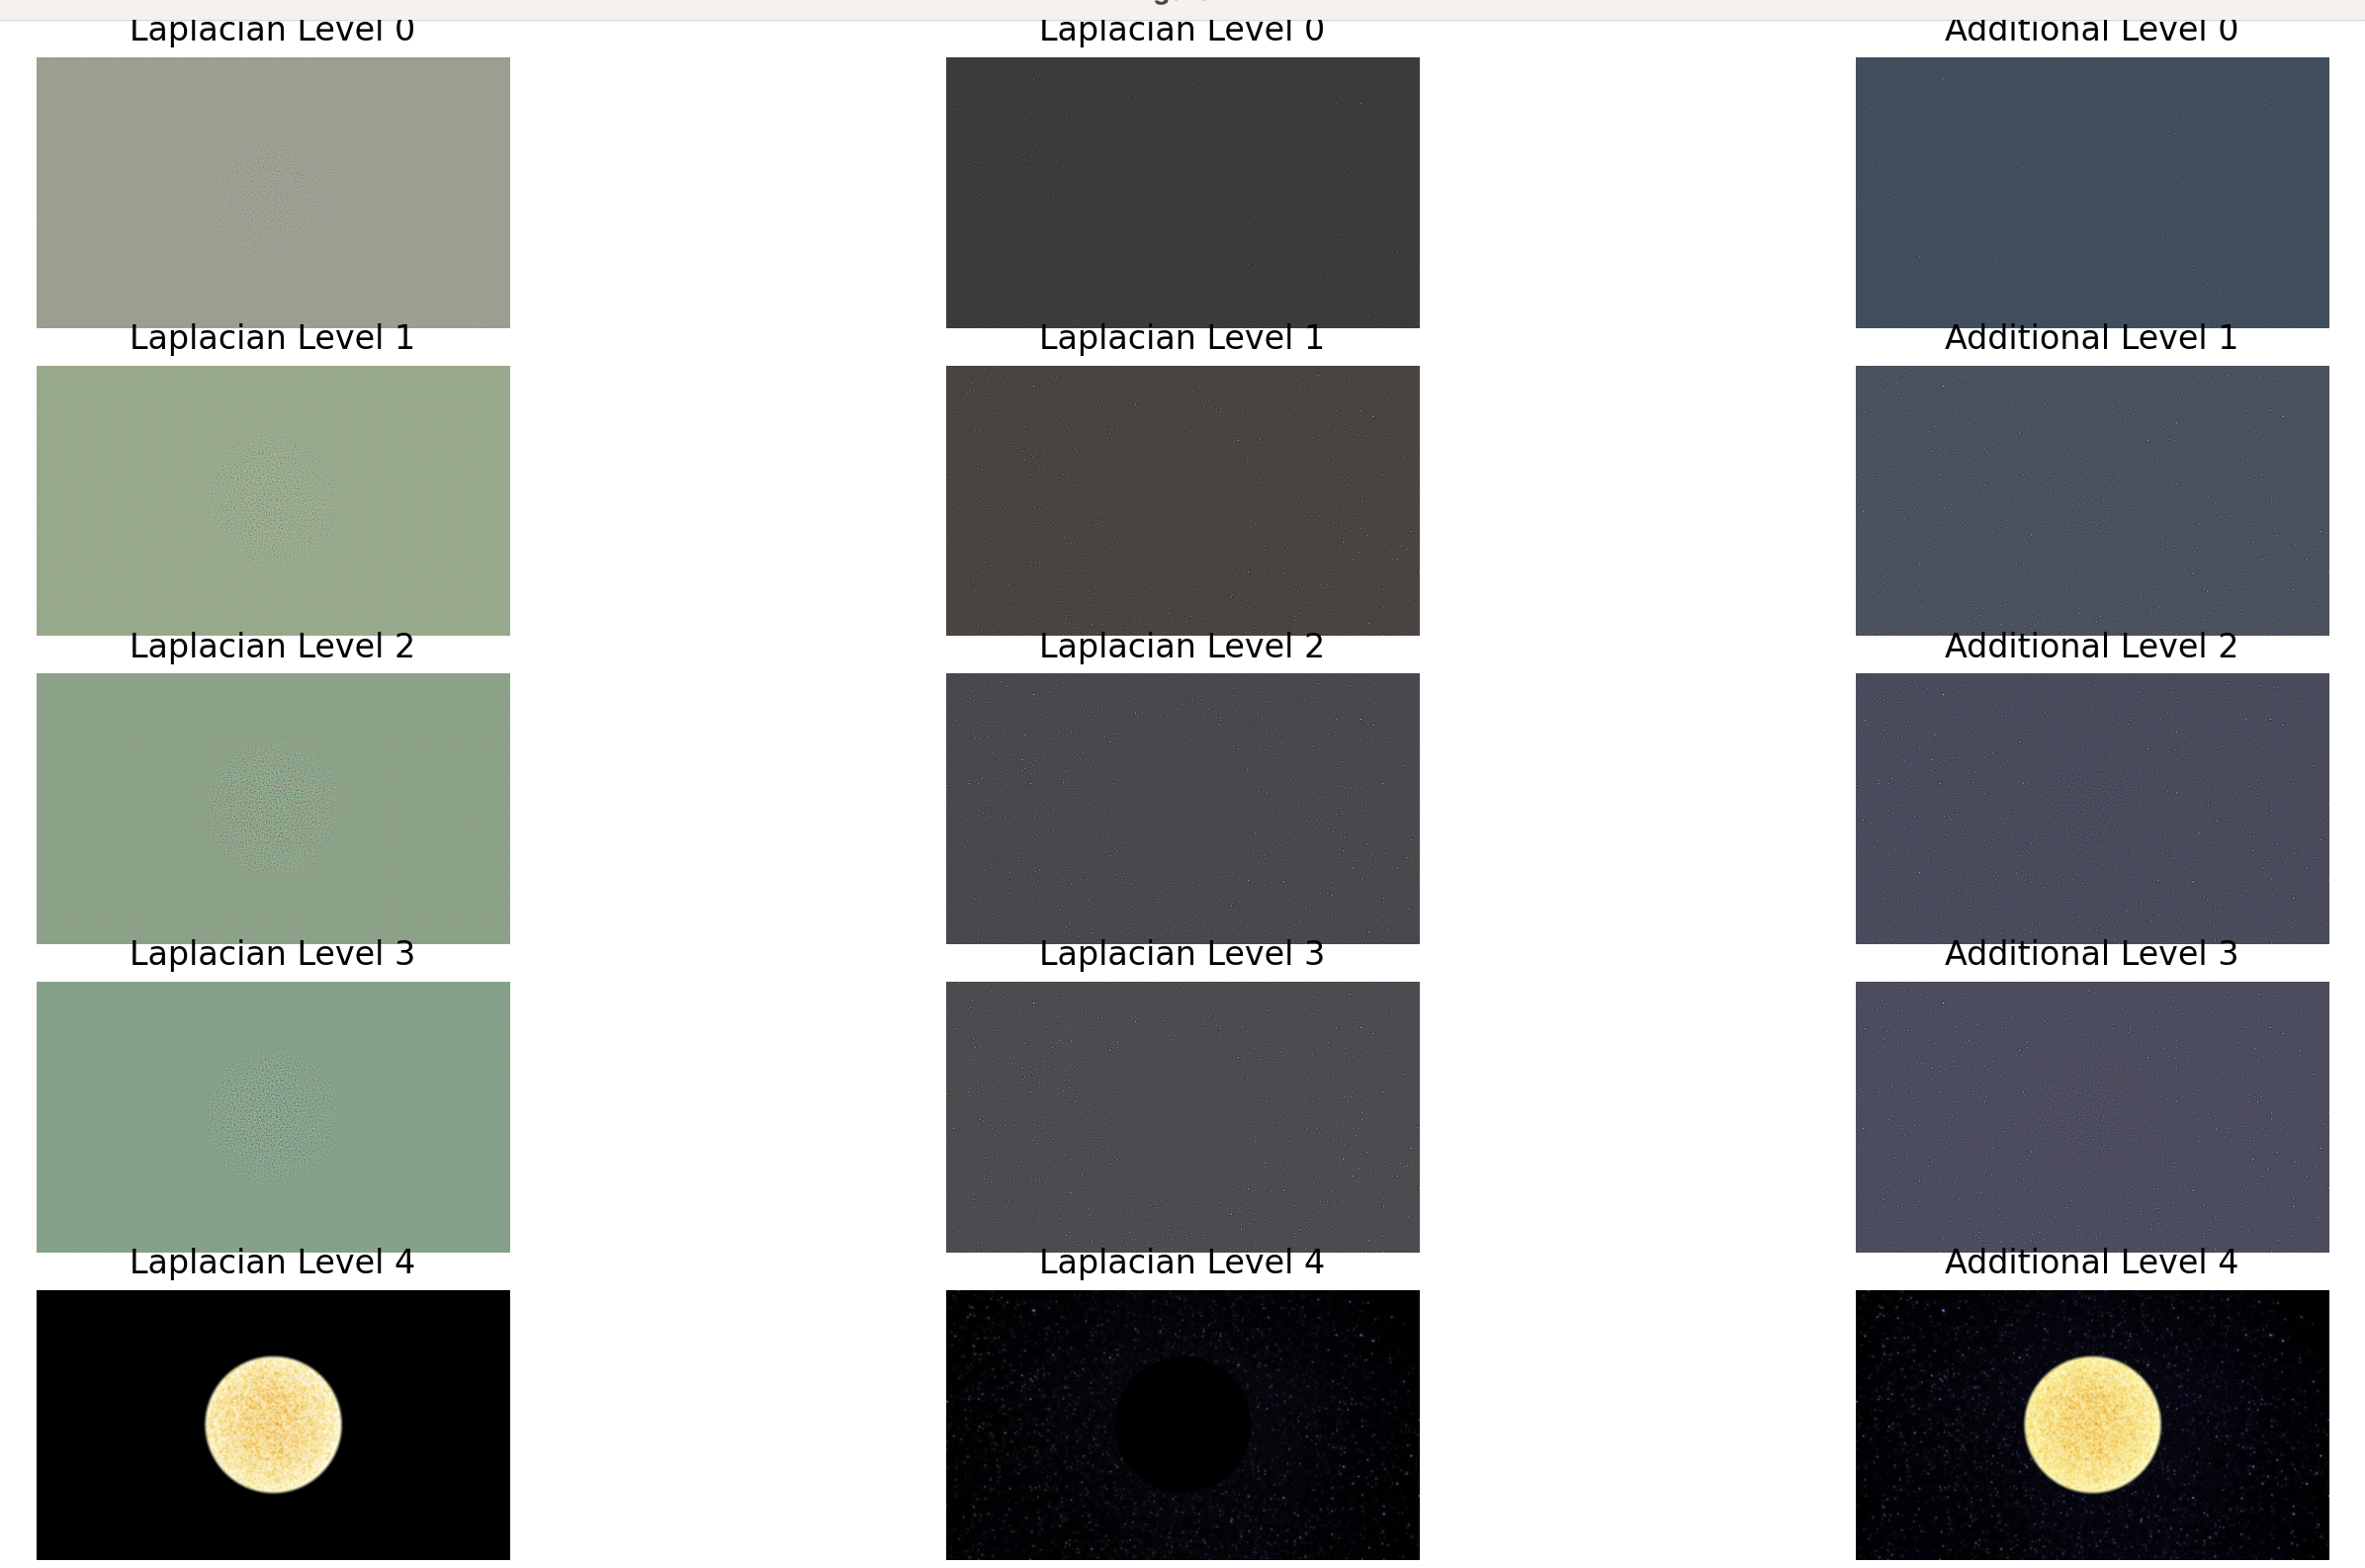
5 Layer Blend.
Harvesters
Laplace, Gauss, Combined for Stars/Sun
Harvesters
Combined Mountain, Forest, and Ocean.